What is Lockitron?
A long, long, time ago (Ok, so it was just a bit over a year ago), I came across a preview online for a product called a Lockitron. This device seemed really, really cool. I could remotely lock and unlock my deadbolt to my house using only a single swipe from my phone. Furthermore, I could easily allow access to a friend, family member, etc., into my house, either by remotely unlocking it for them, or by granting them access to be able to unlock it themselves using their own phone.
This seemed like a wonderful idea to me! No longer did I have to dread the issue of taking the dogs for a walk. You see, our house has the wonderful idea of ONLY providing a lock via the deadbolt. The normal door handle itself doesn’t have a door lock. So, every time, we had to leave to go for a walk, (or to leave the house in general!), we had to manually pull the keys back out, and lock the deadbolt from the outside. What a pain in the butt!
Then along came the Lockitron, and I was sold! I threw down my money, and waited for the device to come in, which was scheduled to be shipped in March of 2013.
And I waited… and waited… and waited. March came and went, May came and went, July came and went, and September came and went. Each month promised a shipment of my Lockitron, and each month passed without my Lockitron arriving at my doorstep. What started to seem like vaporware eventually faded away, when TODAY my Lockitron finally arrived. Happy Days!
The Hardware
When I got home from work, I barely had set my stuff down before I was diving into the packaging, ripping off that USPS packaging and diving into the heart of what I wanted!
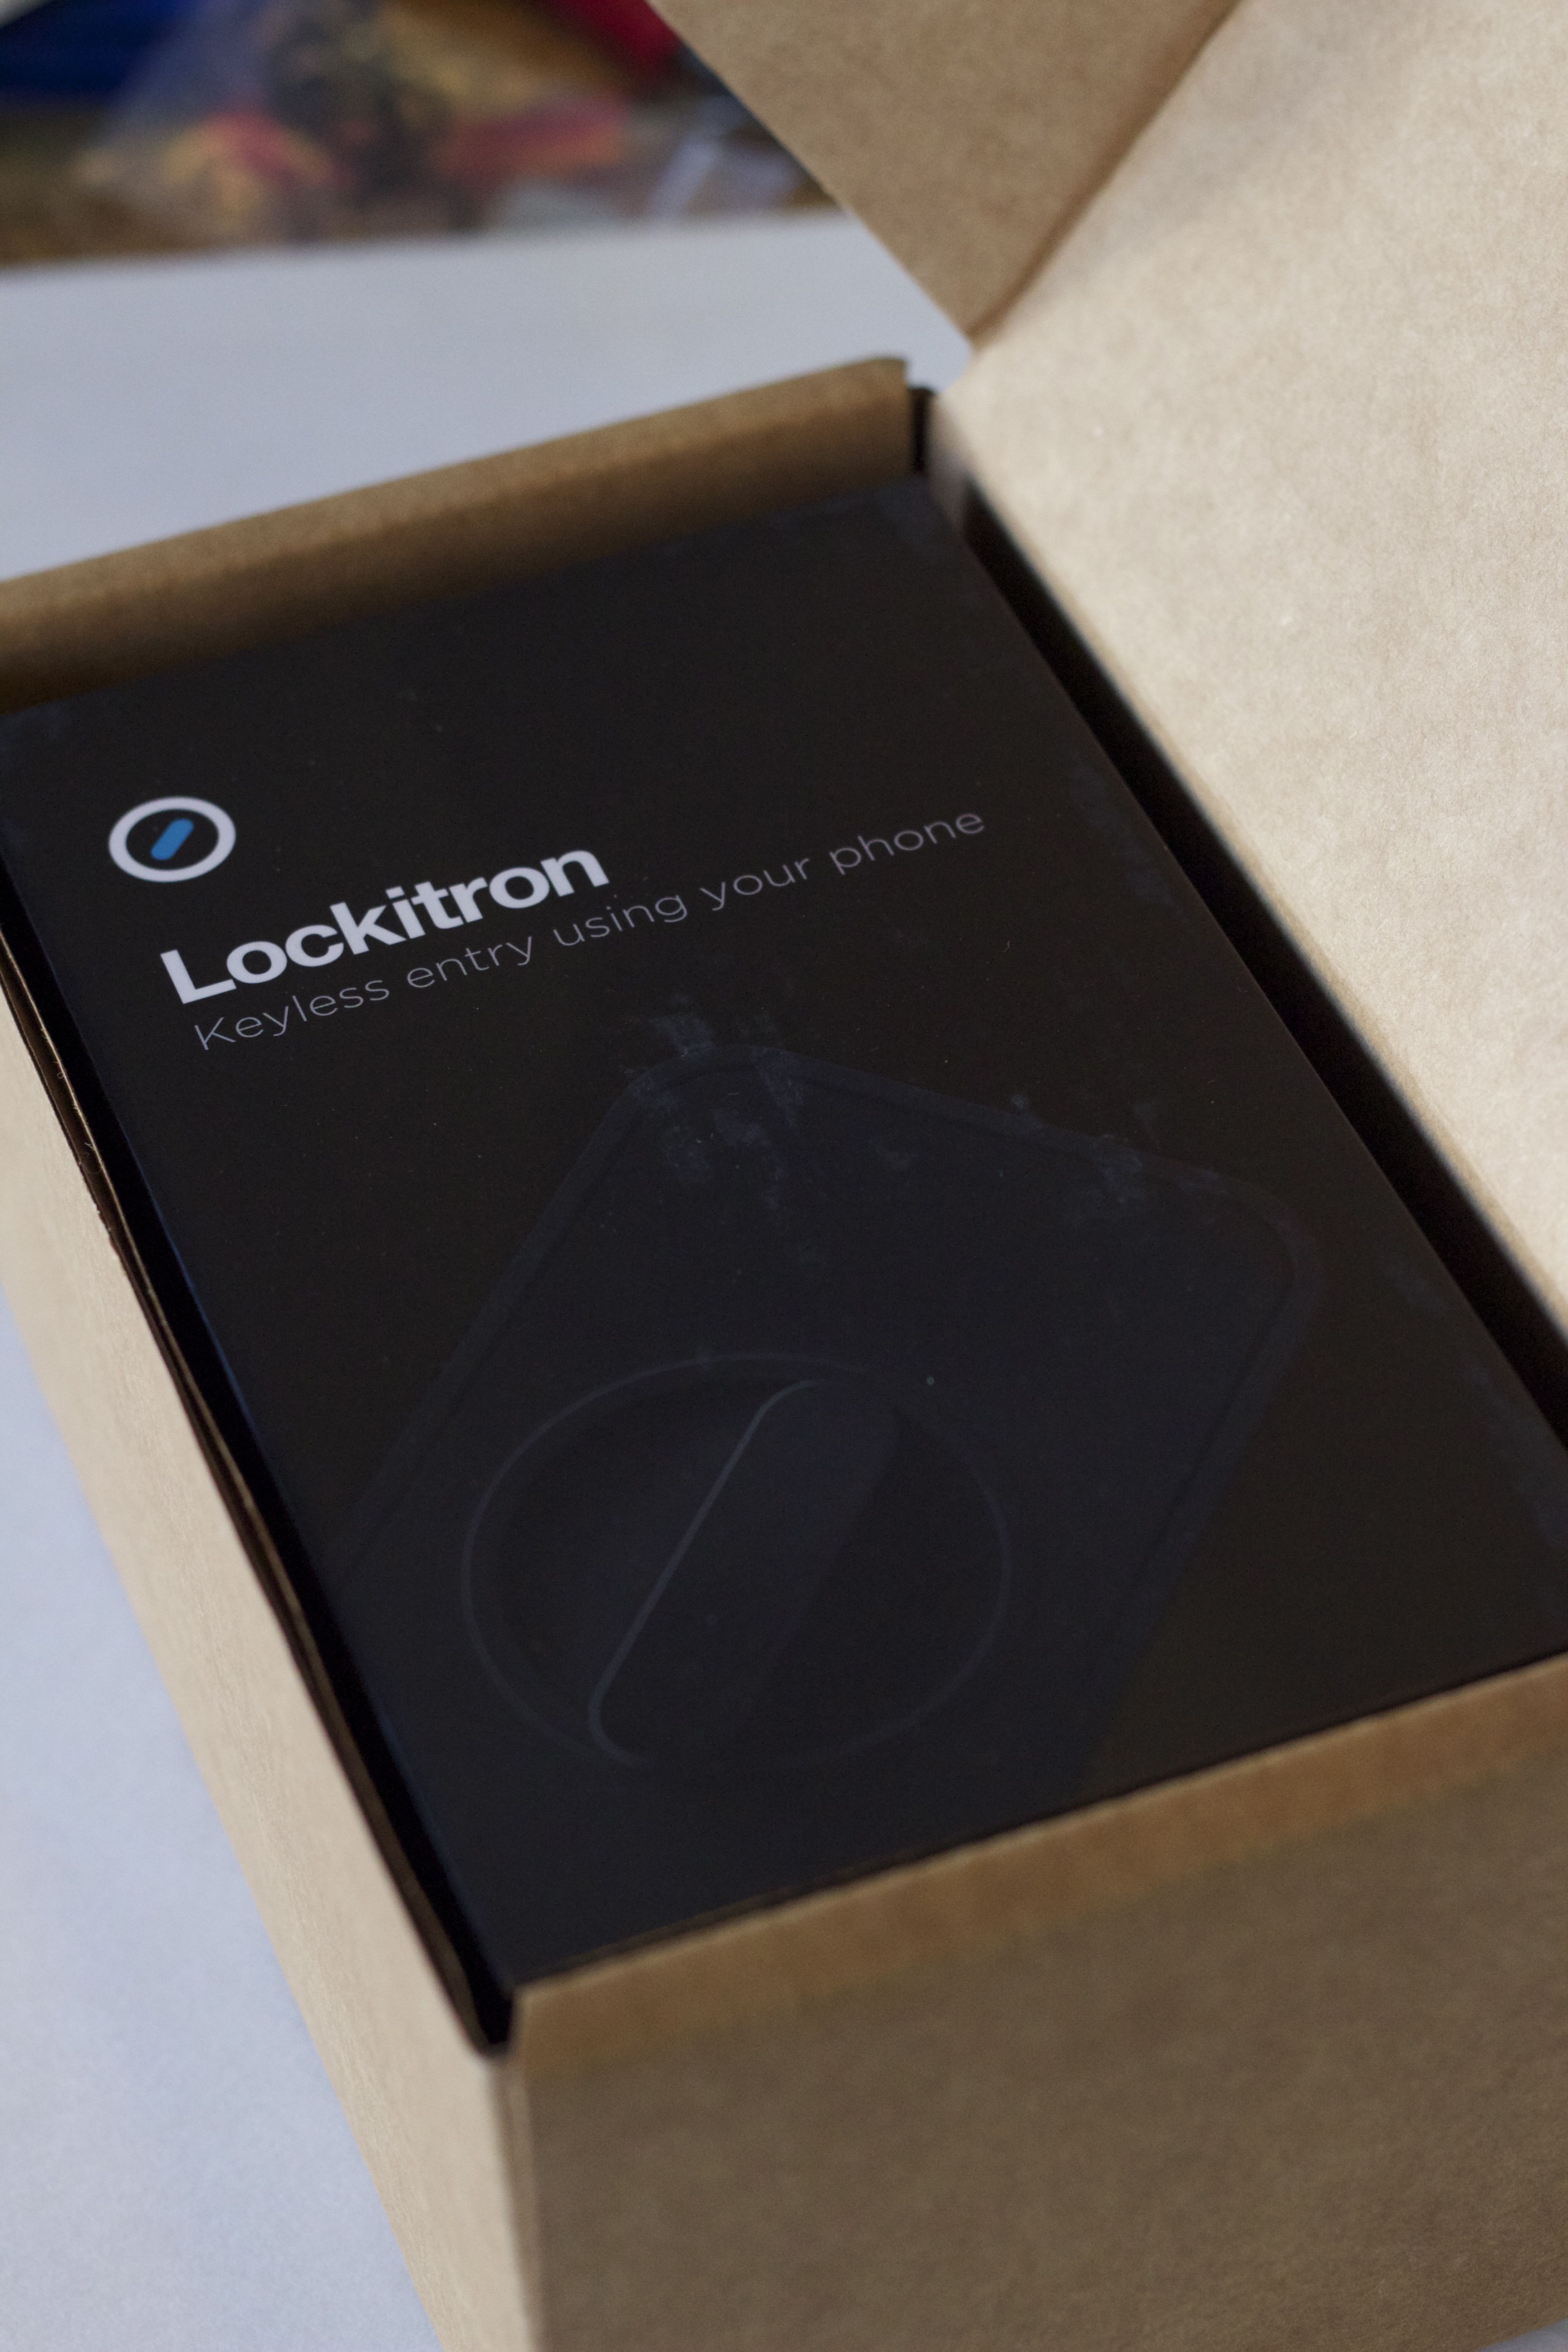
It’s here, it’s finally here! I can’t believe it! (And yes, I did have to take this picture before even pulling it out of the packaging box!)
The package came pleasantly packaged, stuffed inside of a cardboard box, wrapped up inside of a USPS slightly padded bag. After pulling the Lockitron box itself out of the cardboard box, I was greeted with a nicely decorated box.
The Lockitron box, in all its glory.
The front of the box didn’t display too much information, but did show a nice image of the device.

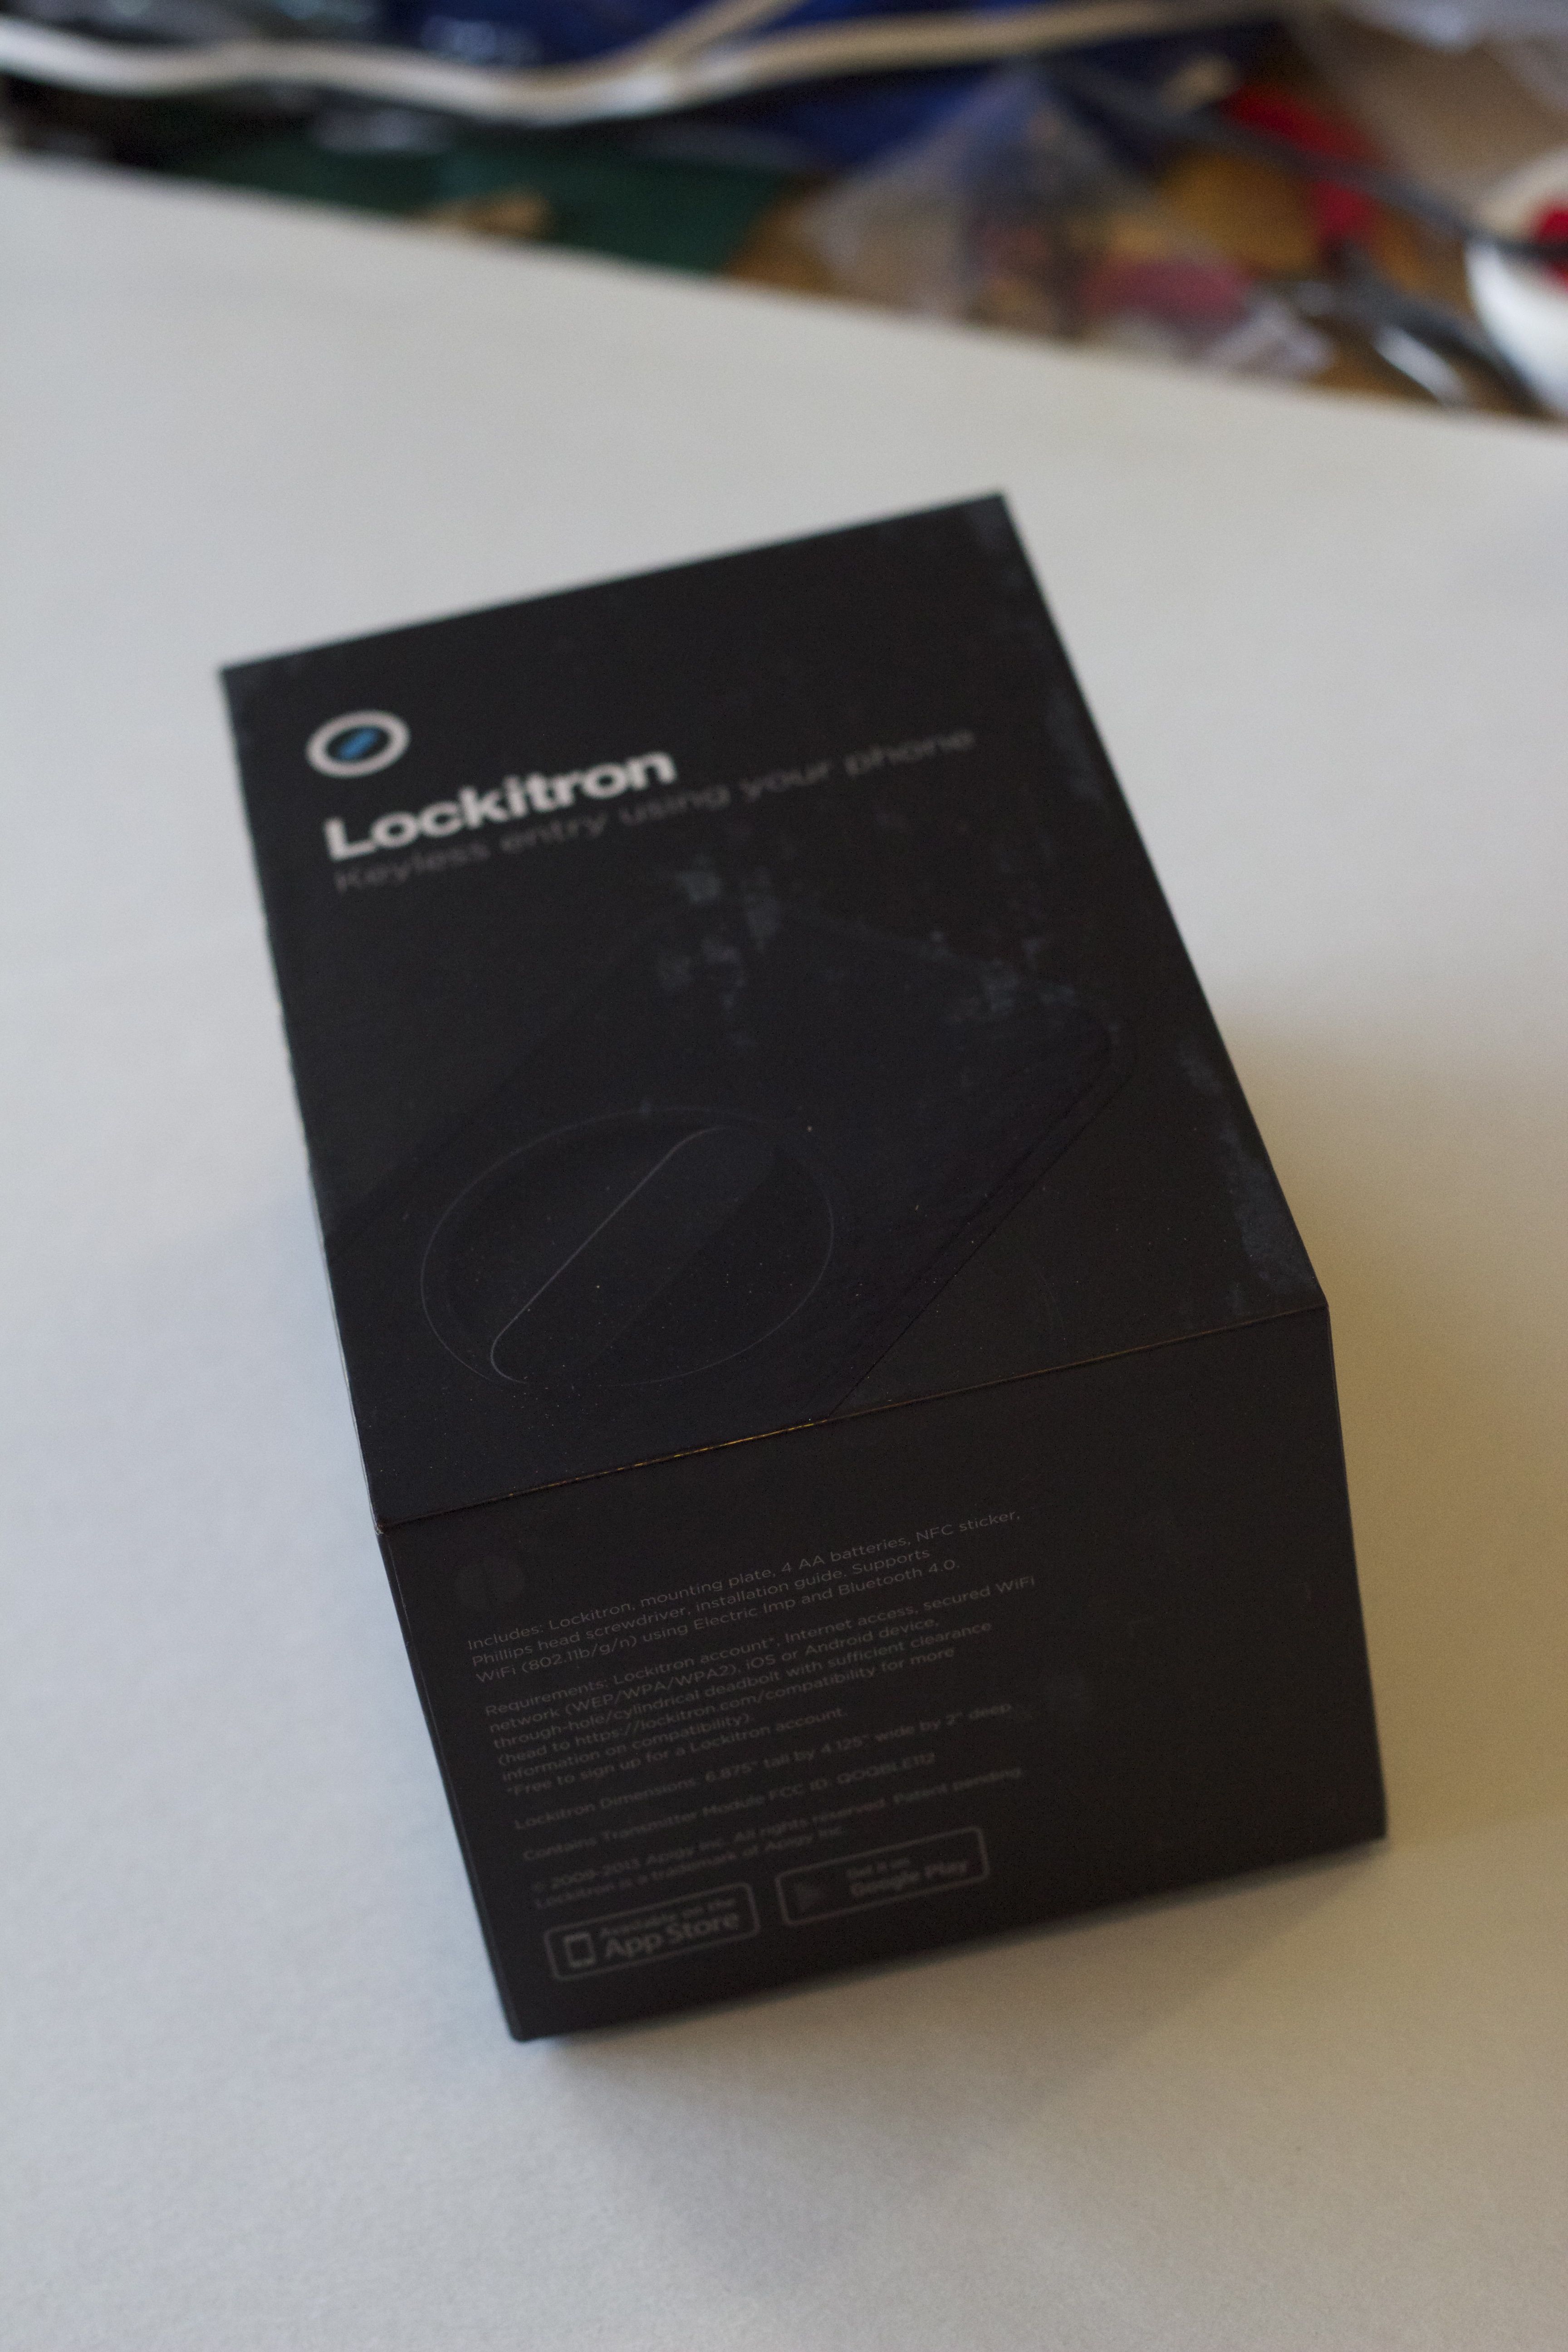
Just your usual, run-of-the-mill information.
The bottom of the box showed a simple bit of information, directing the user to the Apple App Store, or the Google Play Store to download their respective version of the software to go with the device.
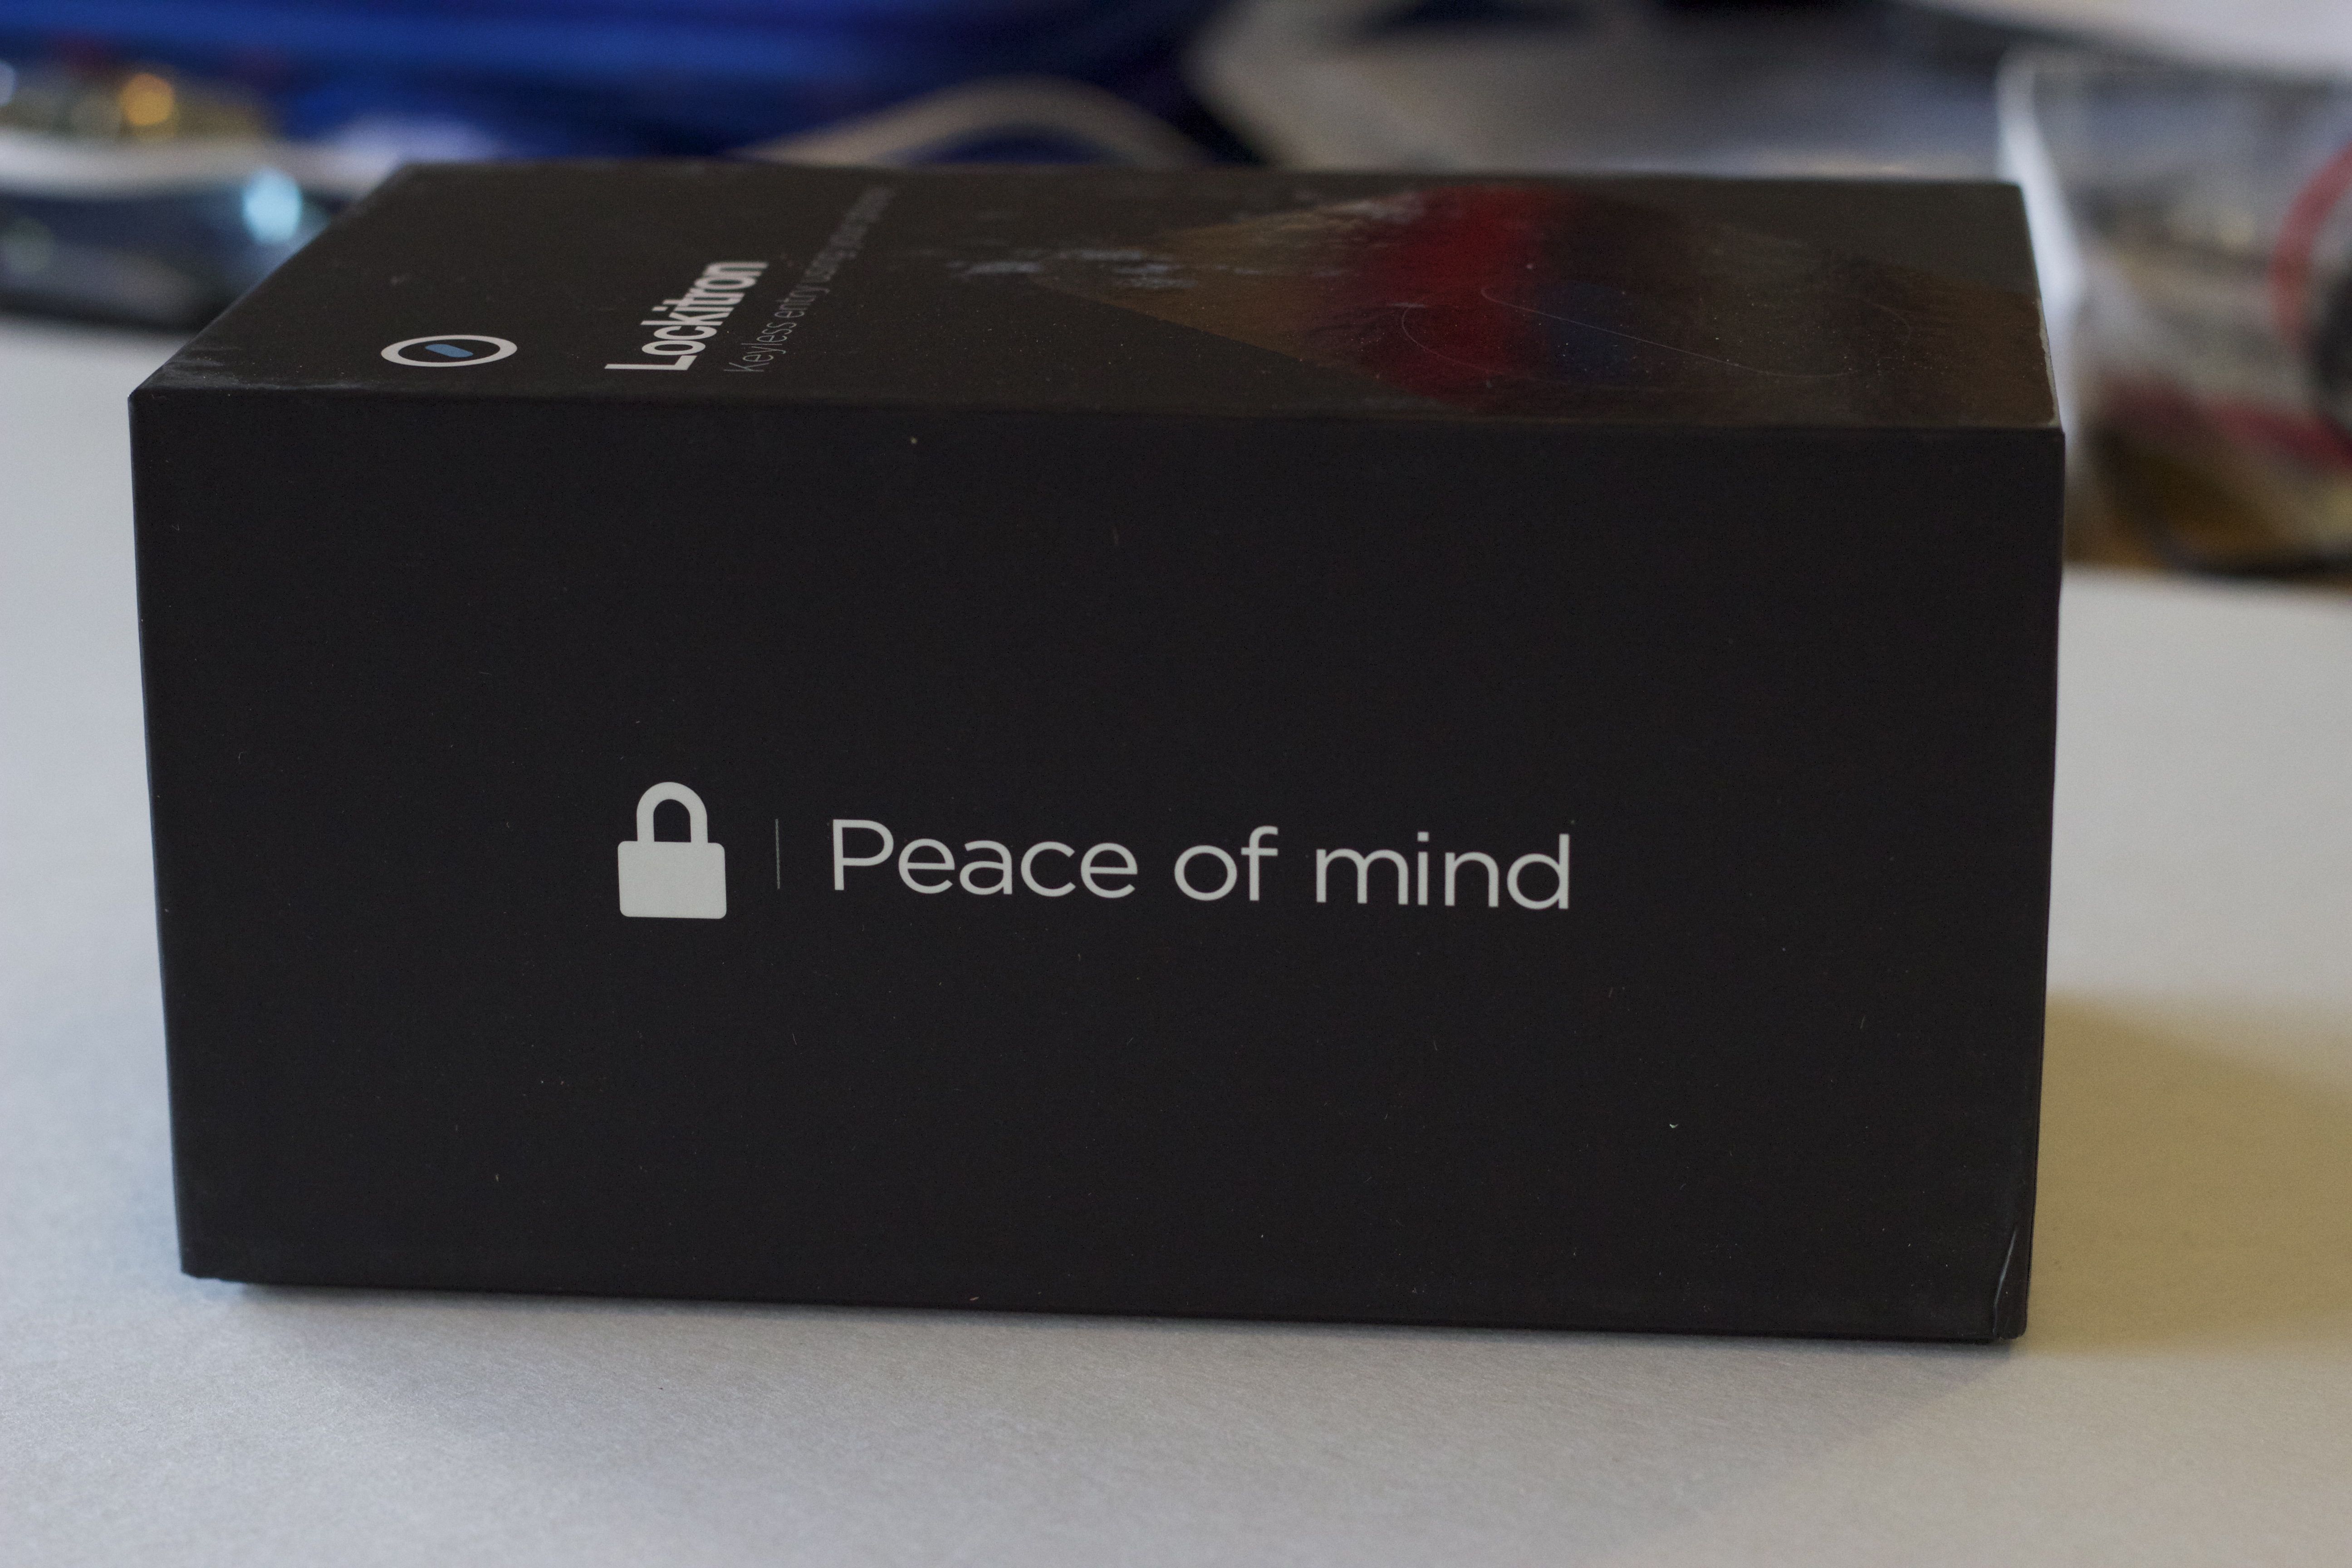
Peace of Mind? We’ll see after I do some extensive testing of it!
One side of the box said exactly what the device was meant to do: provide peace of mind, allowing you to always be able to check on the lock status of the door.

As long as it works well, I’m excited about this!
The other side of the box complimented the other statement, expressing the ability to lock the device from anywhere. Peace of mind? You betcha!
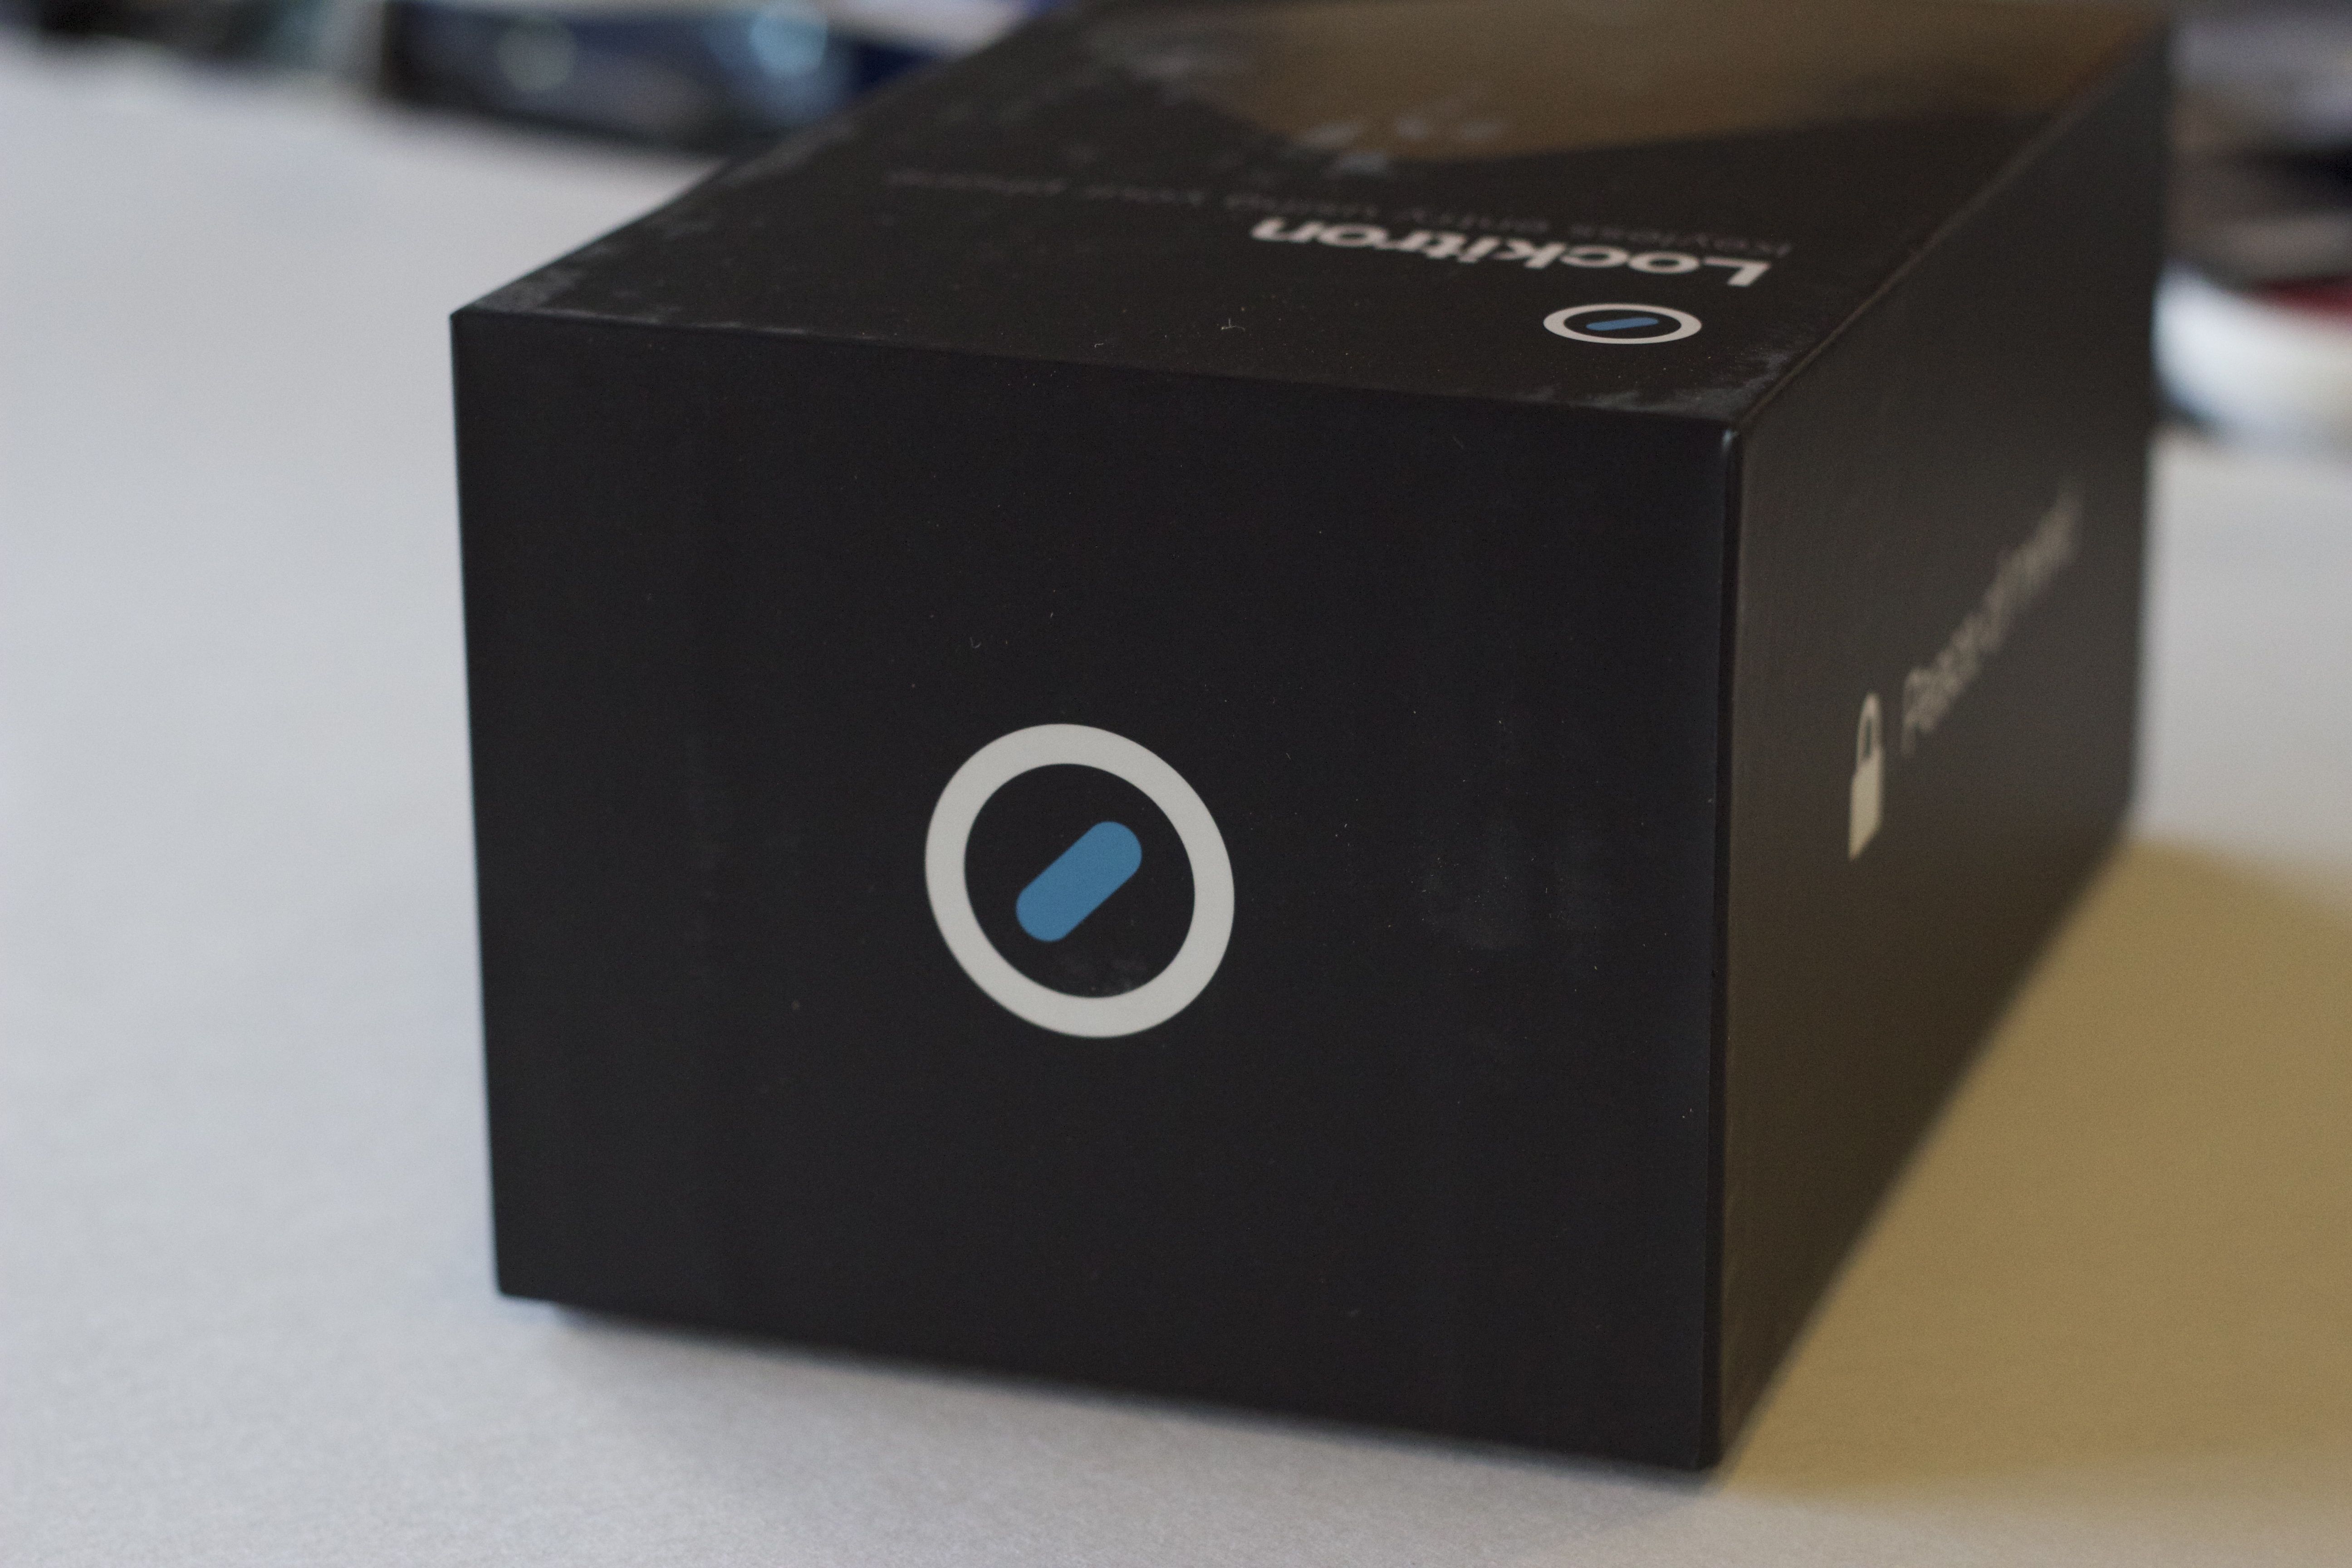
Ooh, a pretty logo!
The remaining side of the box simply displayed Lockitron’s logo: a simple round outline, surrounding a deadbolt-style lock icon. You better get used to this icon – it’s everywhere in the software!

Yes, the installation was easy. Unfortunately, the whole fact of Bluetooth unlock only working with iPhones irritates me. No love for Android?
The backside of the box provided a bit more information as to the contents and functionality of the device. I was disappointed to know that the bluetooth functionality of being able to be near and lock / unlock the device was functionality restricted only to iPhones. Hopefully Lockitron will add that functionality to their Android counterparts in the future.
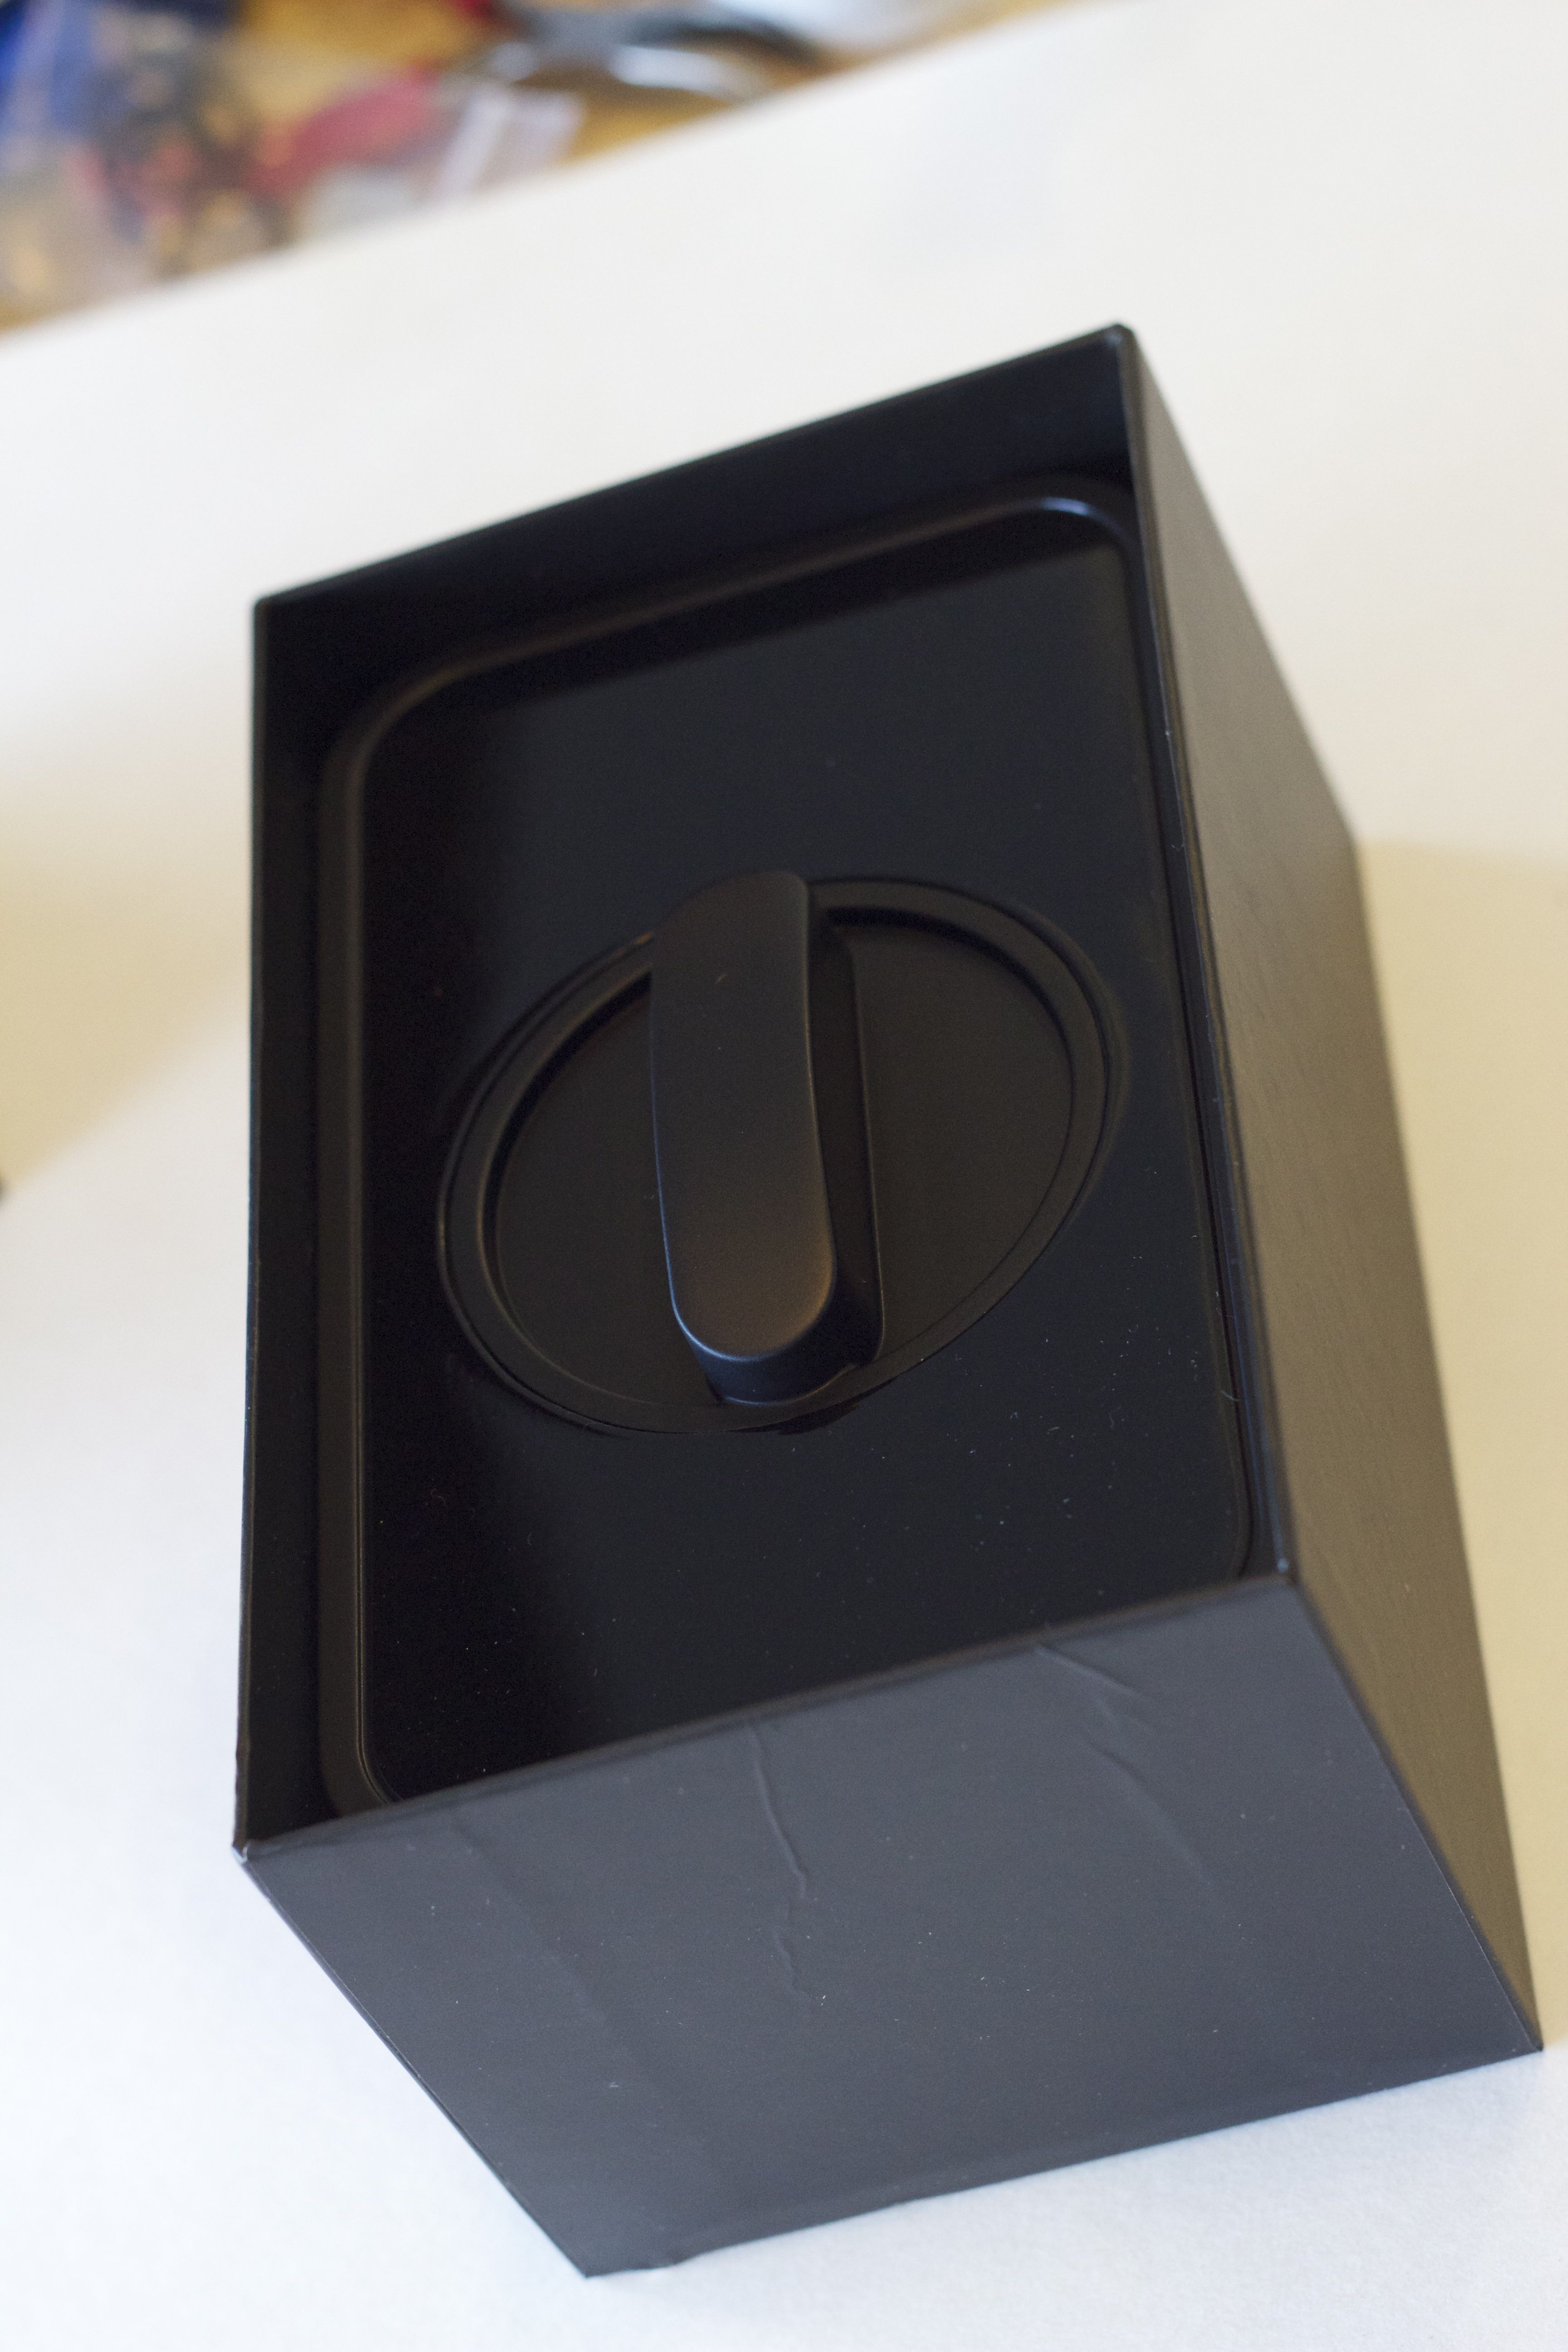
The Lockitron faceplate has been revealed!
Removing the cover of the box revealed the plastic Lockitron faceplate. I originally ordered the white / brushed nickel faceplate, to better match the decor at our house. Lockitron manufacturers, unfortunately, are having some problems with their manufacturing at the moment. As a result, they decided to go ahead and ship out the black-on-black faceplates for now, and ship the originally ordered version later on down the road.
A good gesture, yes. But still a bit disappointing, seeing as how it’s already so far behind. But I certainly do appreciate the gesture, and the ability to get it out the door sooner.
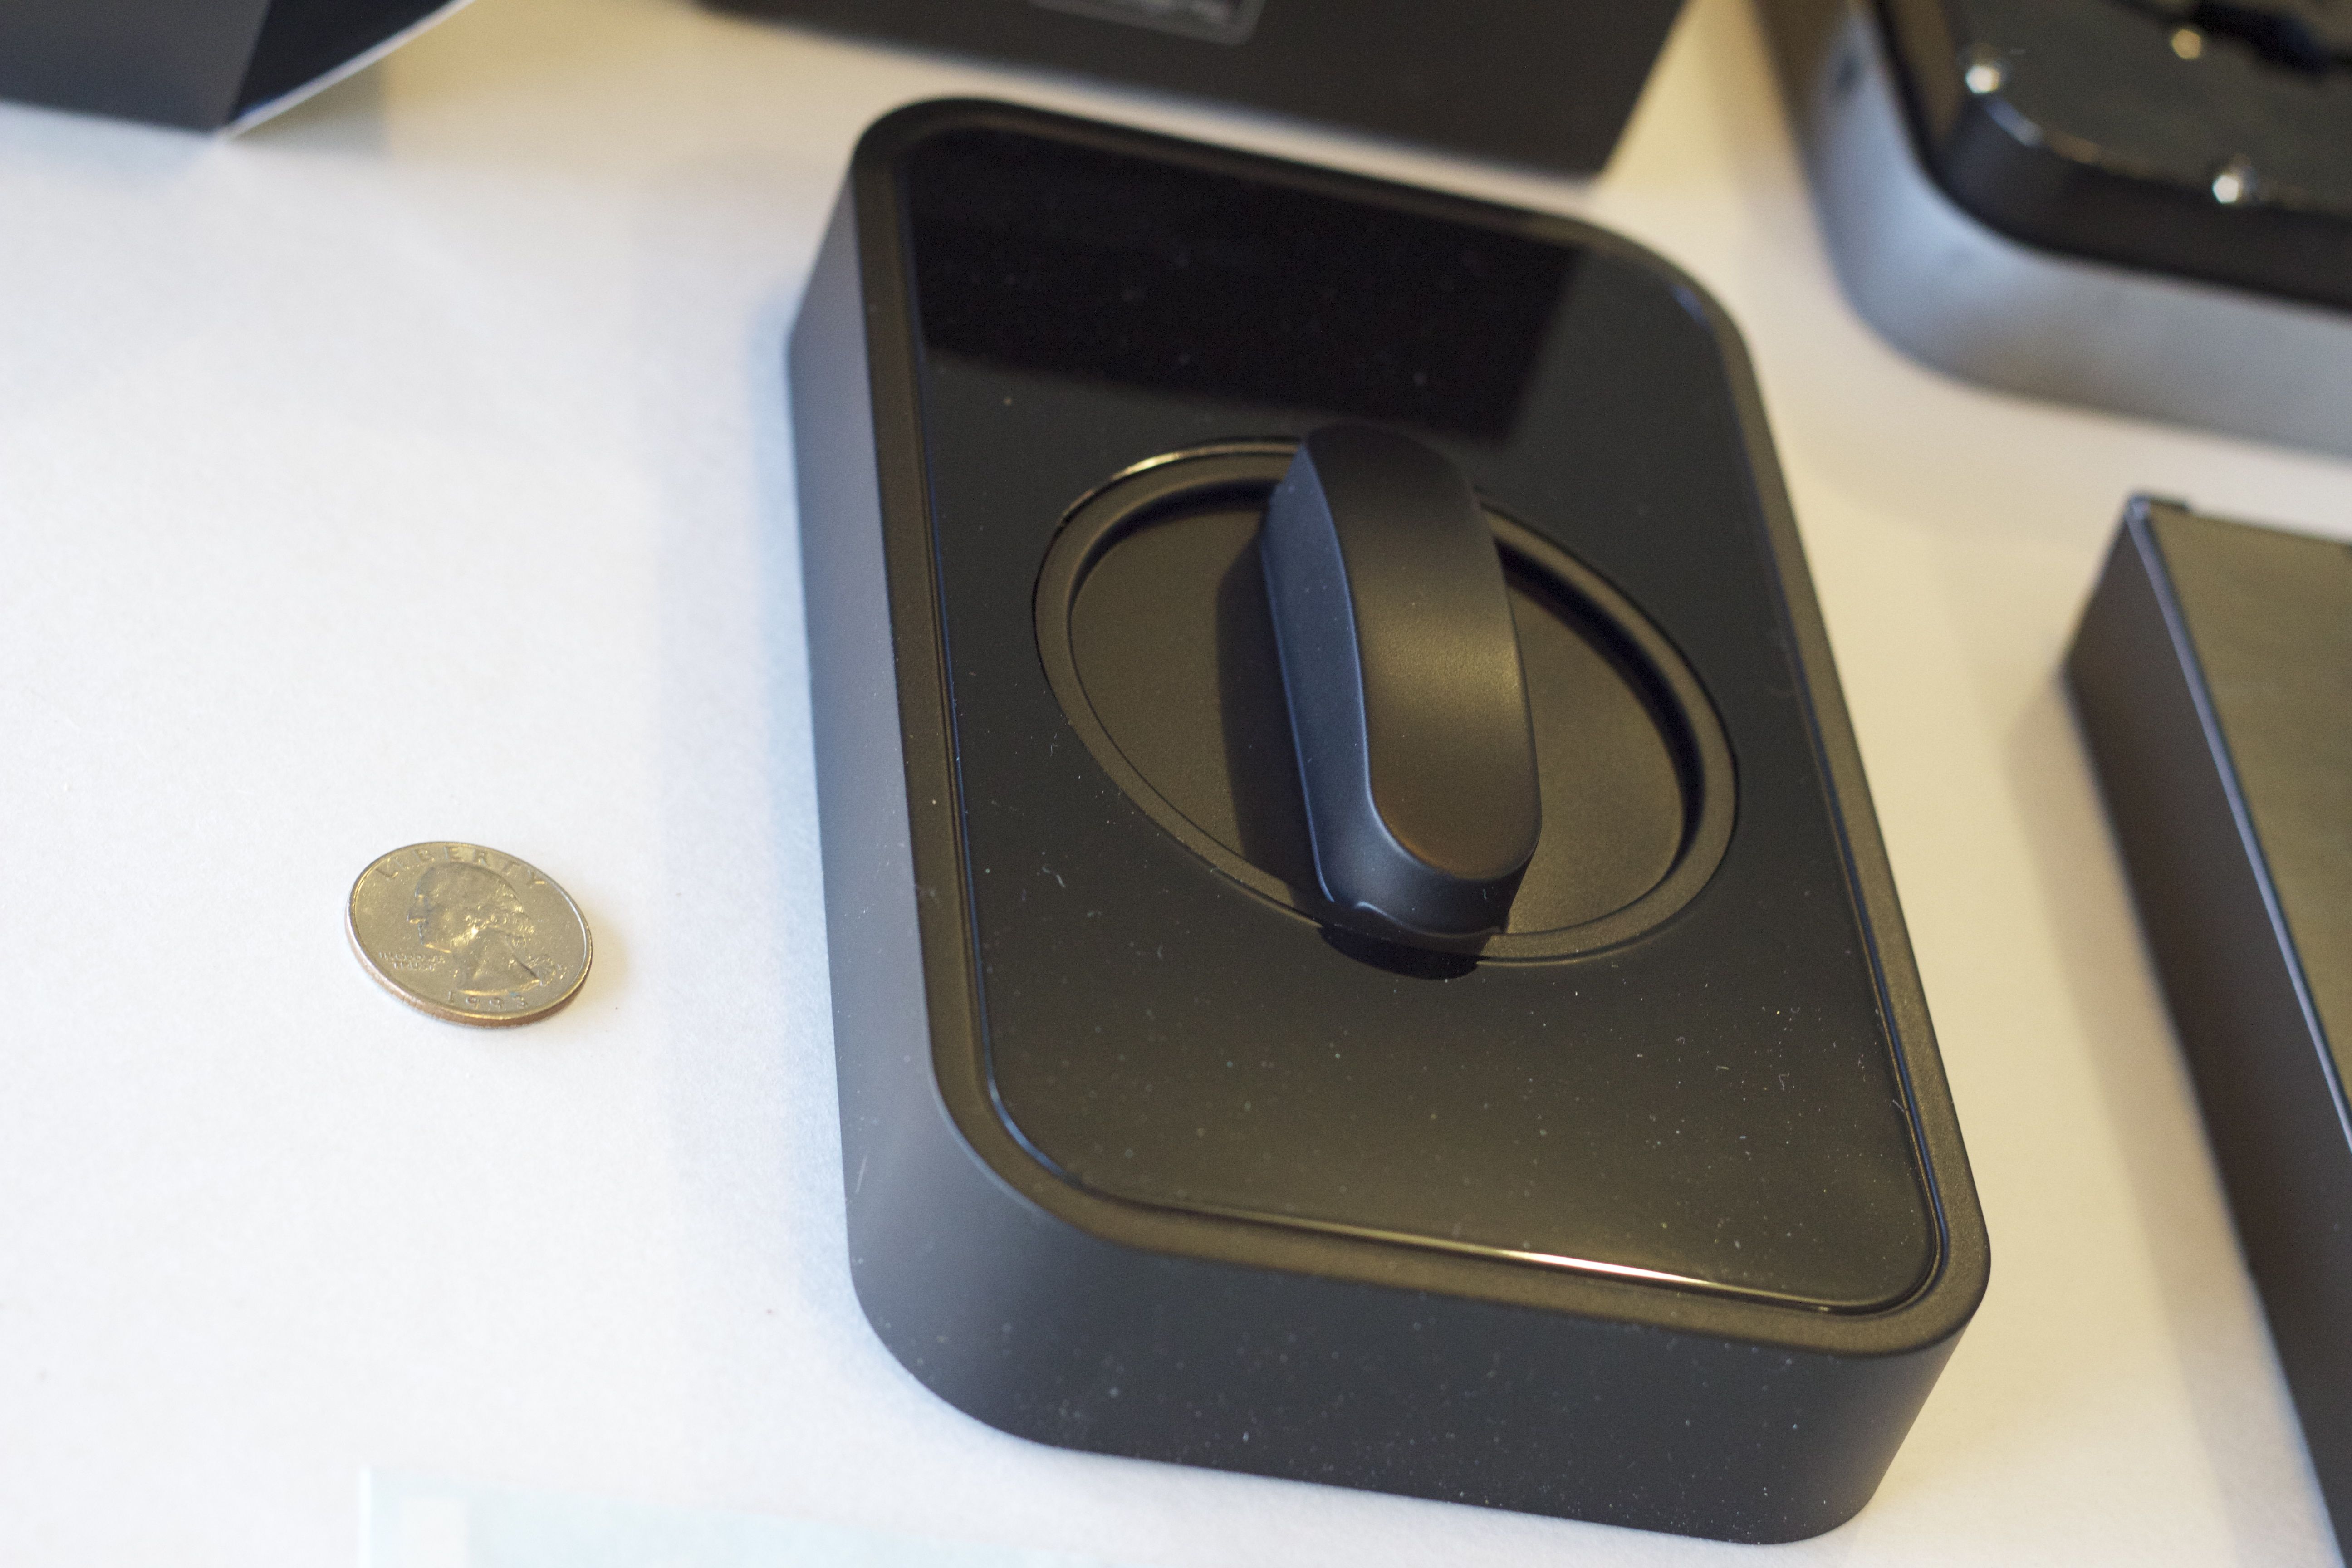
Just the faceplate, with a quarter for comparison. Huge!
Pulling the faceplate out of the box reveals just how huge the device is overall! Of course, I’m sure I could’ve assumed it’d be the size it was after thinking about all the components and electronics inside of it. But I guess I had falsely assumed it’d be closer to the size of the deadbolt itself, especially when compared to some of the alternatives that are starting to be released to market by other manufacturers.

I assume this is the core group of developers?
Underneath the faceplate was a box with some instructions in it, as well as the deadbolt backplate to get installed on the door. Wrapping it was a nice signature folio of people, which I assume to be the core group of developers / designers.
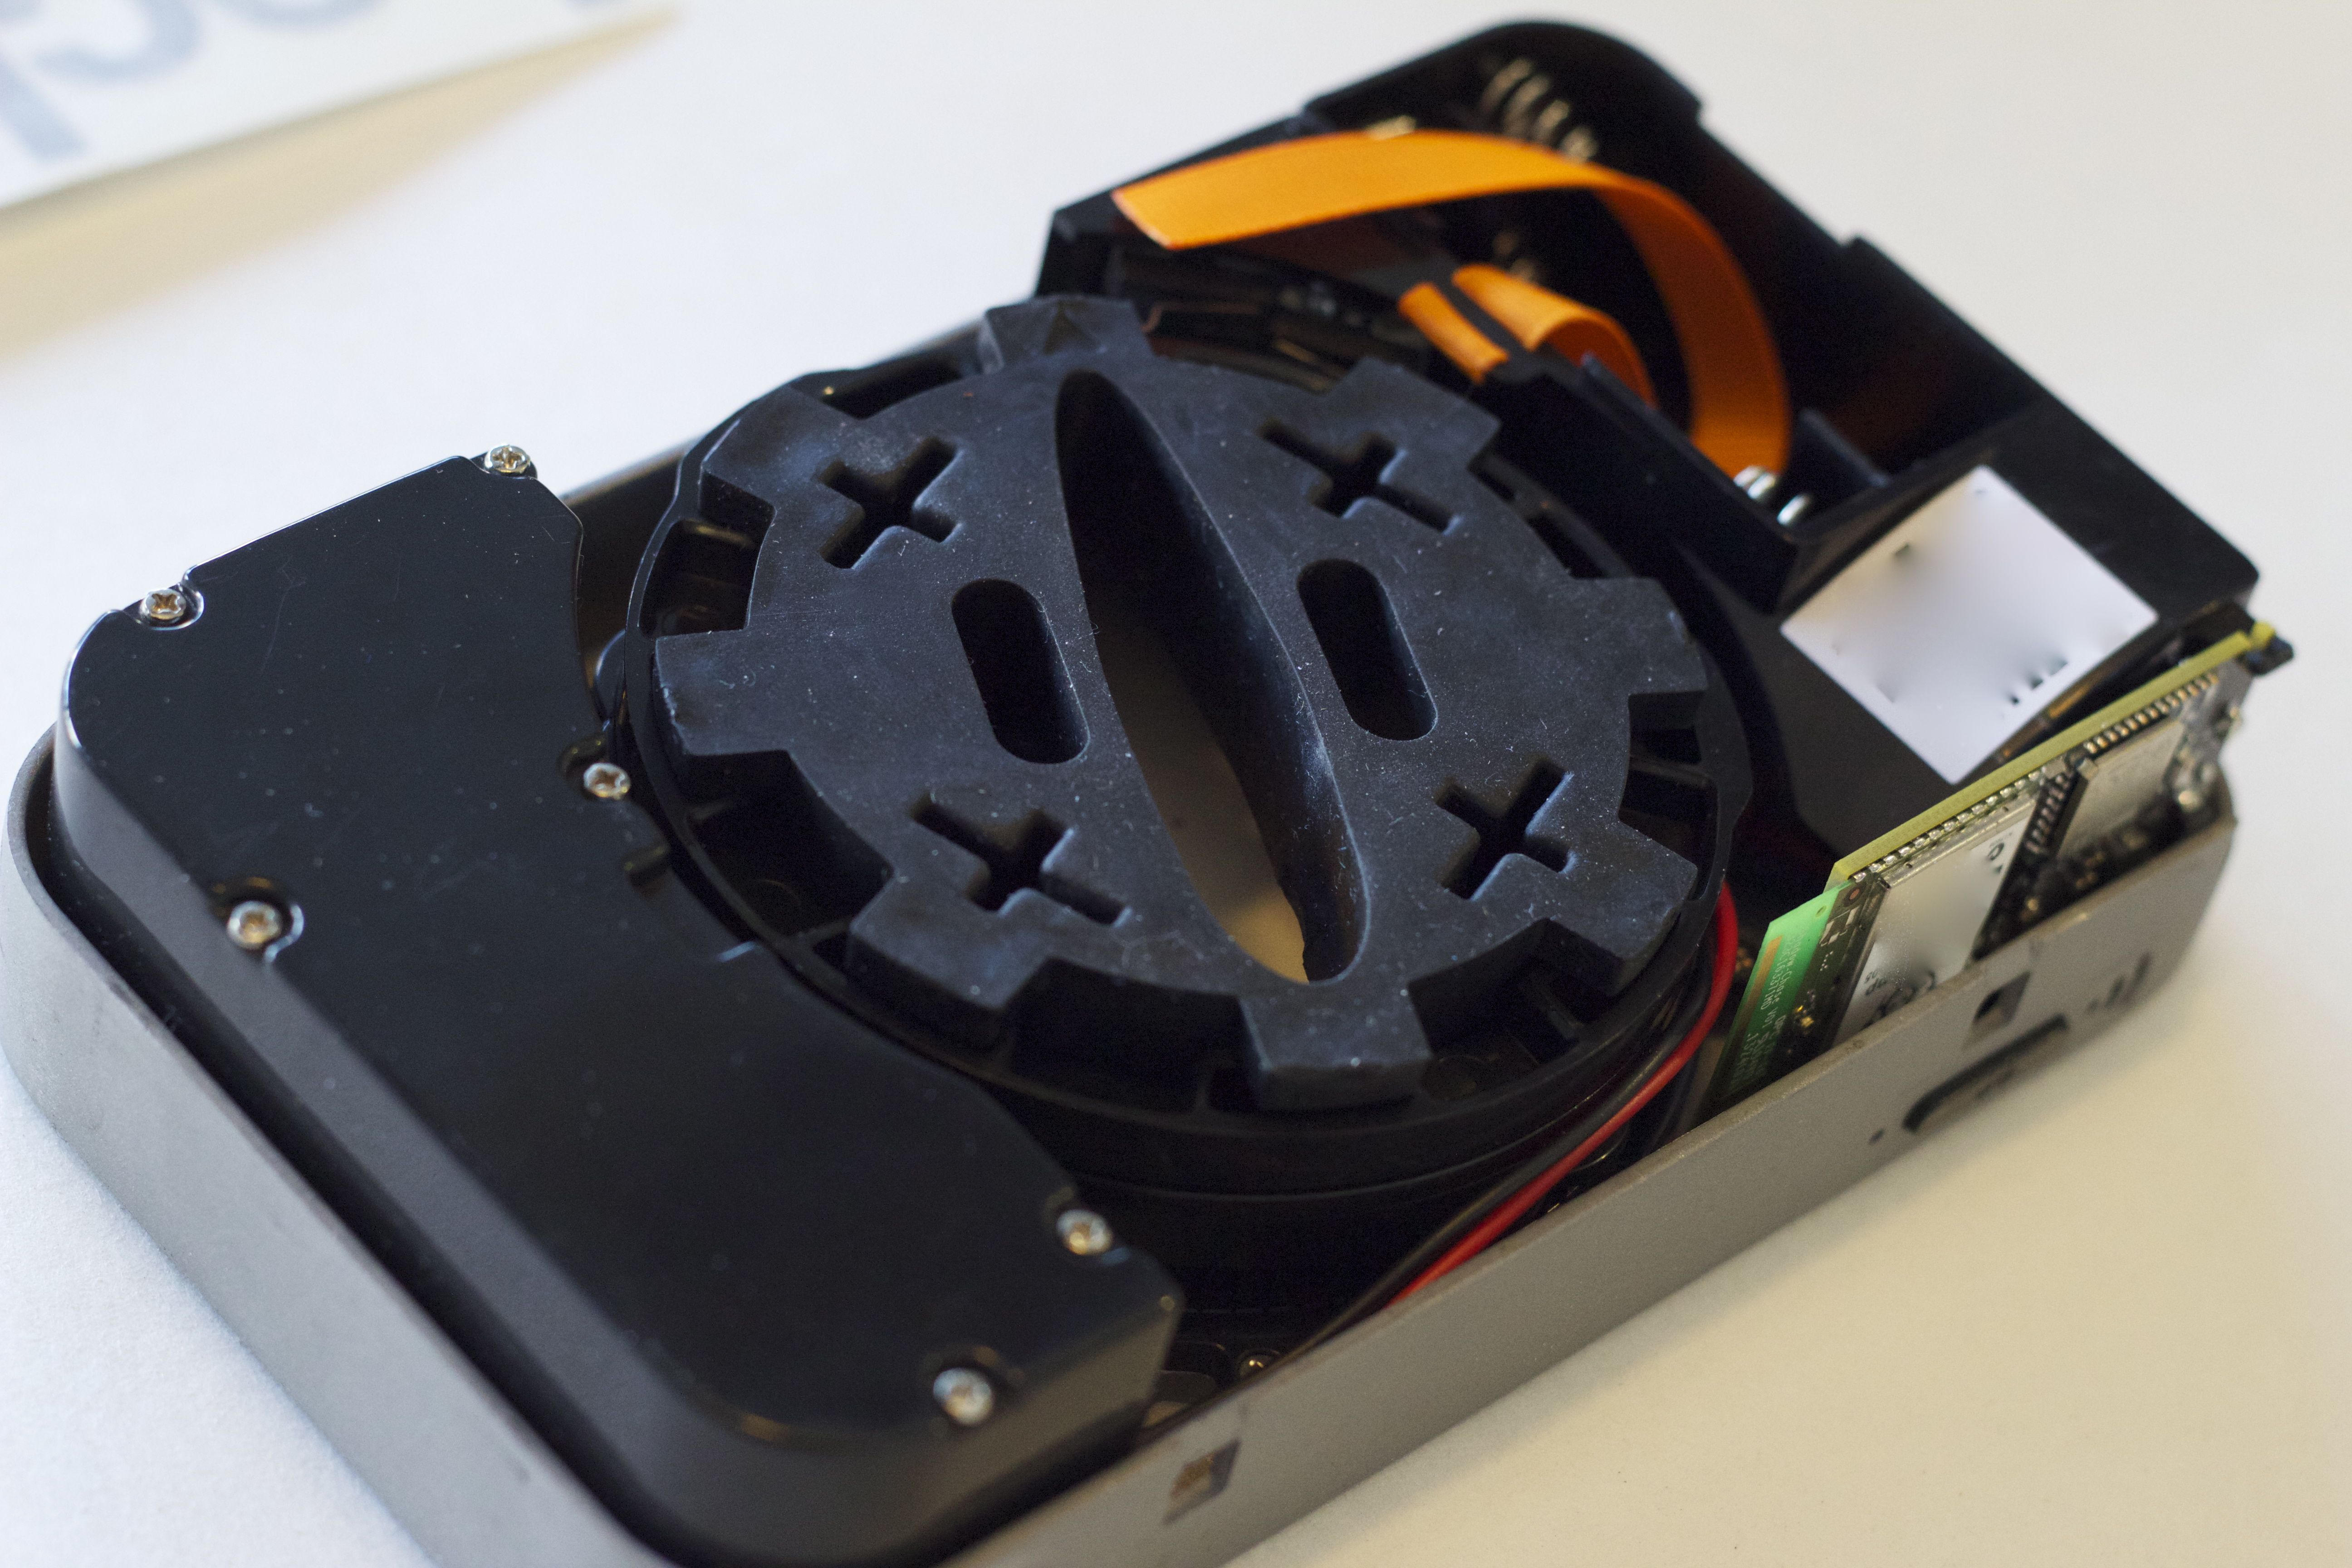
The brains of the whole operation. It’s heavy too!
Underneath all of that was the brains behind the entire system. This houses the primary motor assembly, wifi chip, rubber surround to keep from scratching the deadbolt, and battery compartment to help run the entire device. It’s pretty sweet!
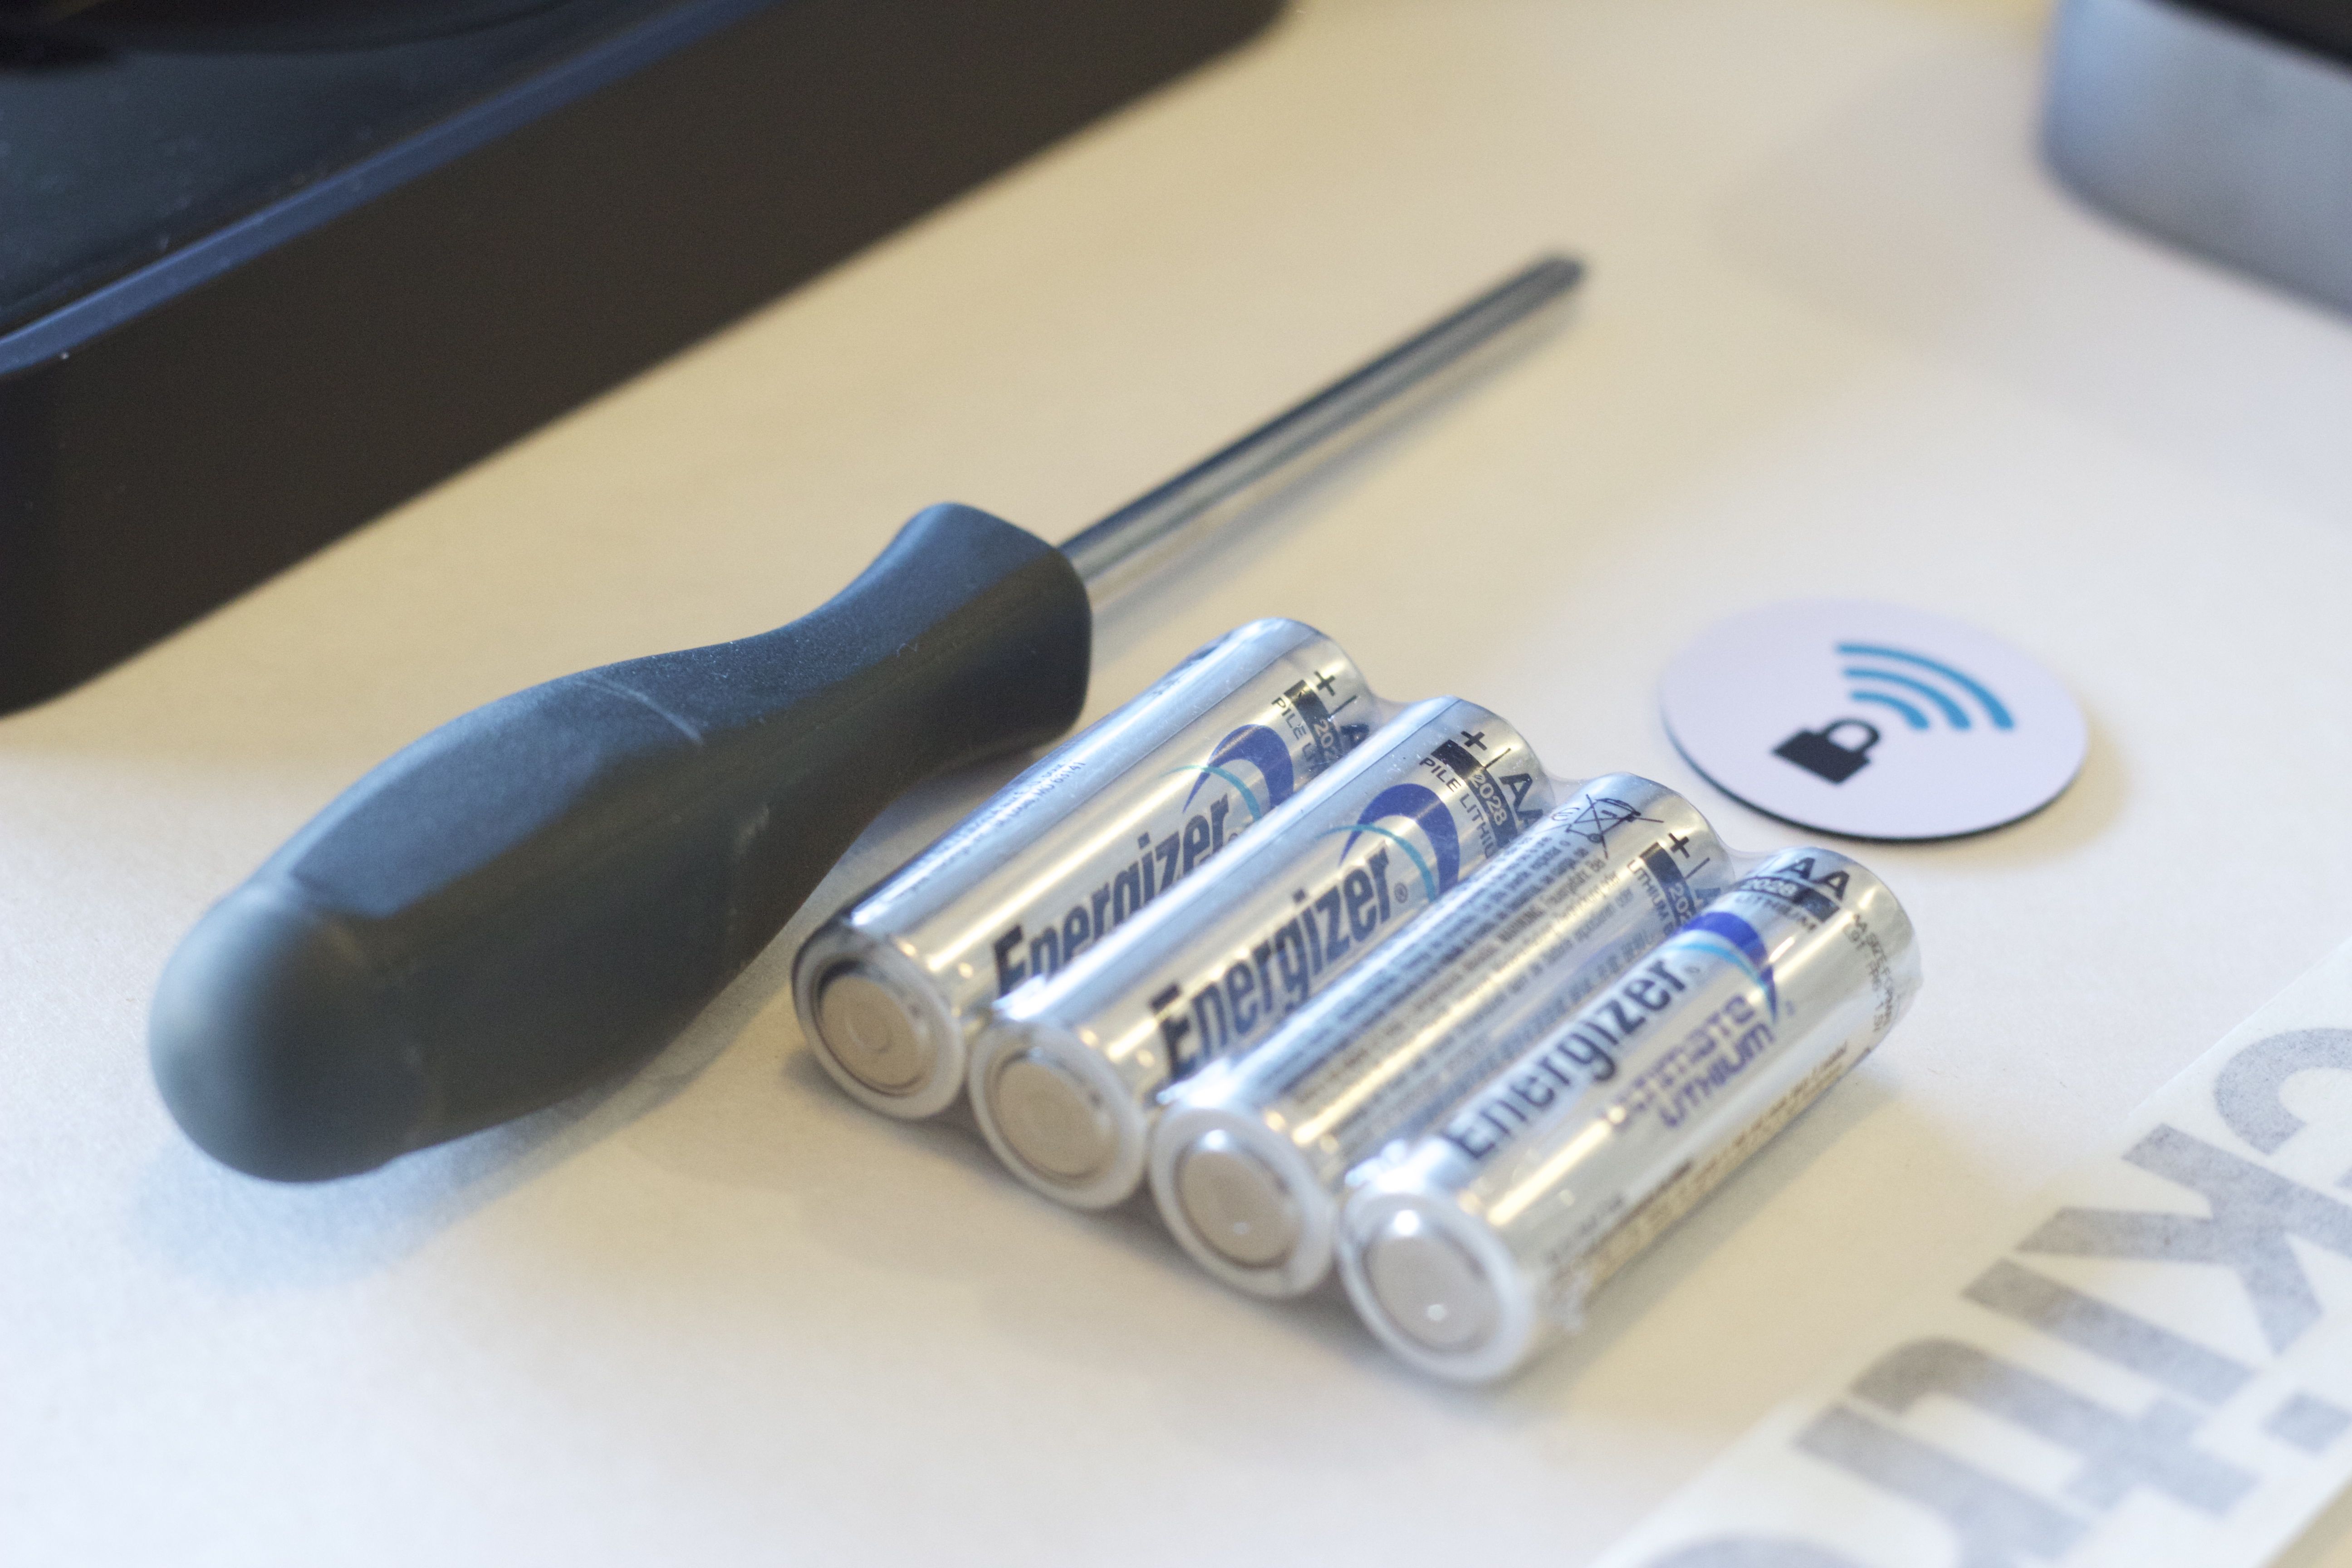
This was a nice touch! I was pleasantly surprised to see a set of nice batteries that came with it, as well as a screwdriver for installing the backplate to the deadbolt!
Included in the box was a package of accessories. I ripped into the box, and was extremely pleased with what came with it. One item, a small NFC tag, was included to allow for easy tap-and-use functionality. In addition was a set of 4x AA batteries, which were of surprisingly high quality (not those crappy knockoff brand ones that have such a small amount of storage and don’t last very long)! Lastly, I was quite surprised to see a full sized screwdriver in there as well! This is to help loosen the deadbolt framing in order to be able to slide the backplate into it. Now, I know that almost everyone probably already has a screwdriver that they could use instead. But the very act of including one, which made it so that I didn’t have to divert my attention away from installing the Lockitron, and instead remain focused on doing it with all the tools necessary right in front of me, was quite nice!
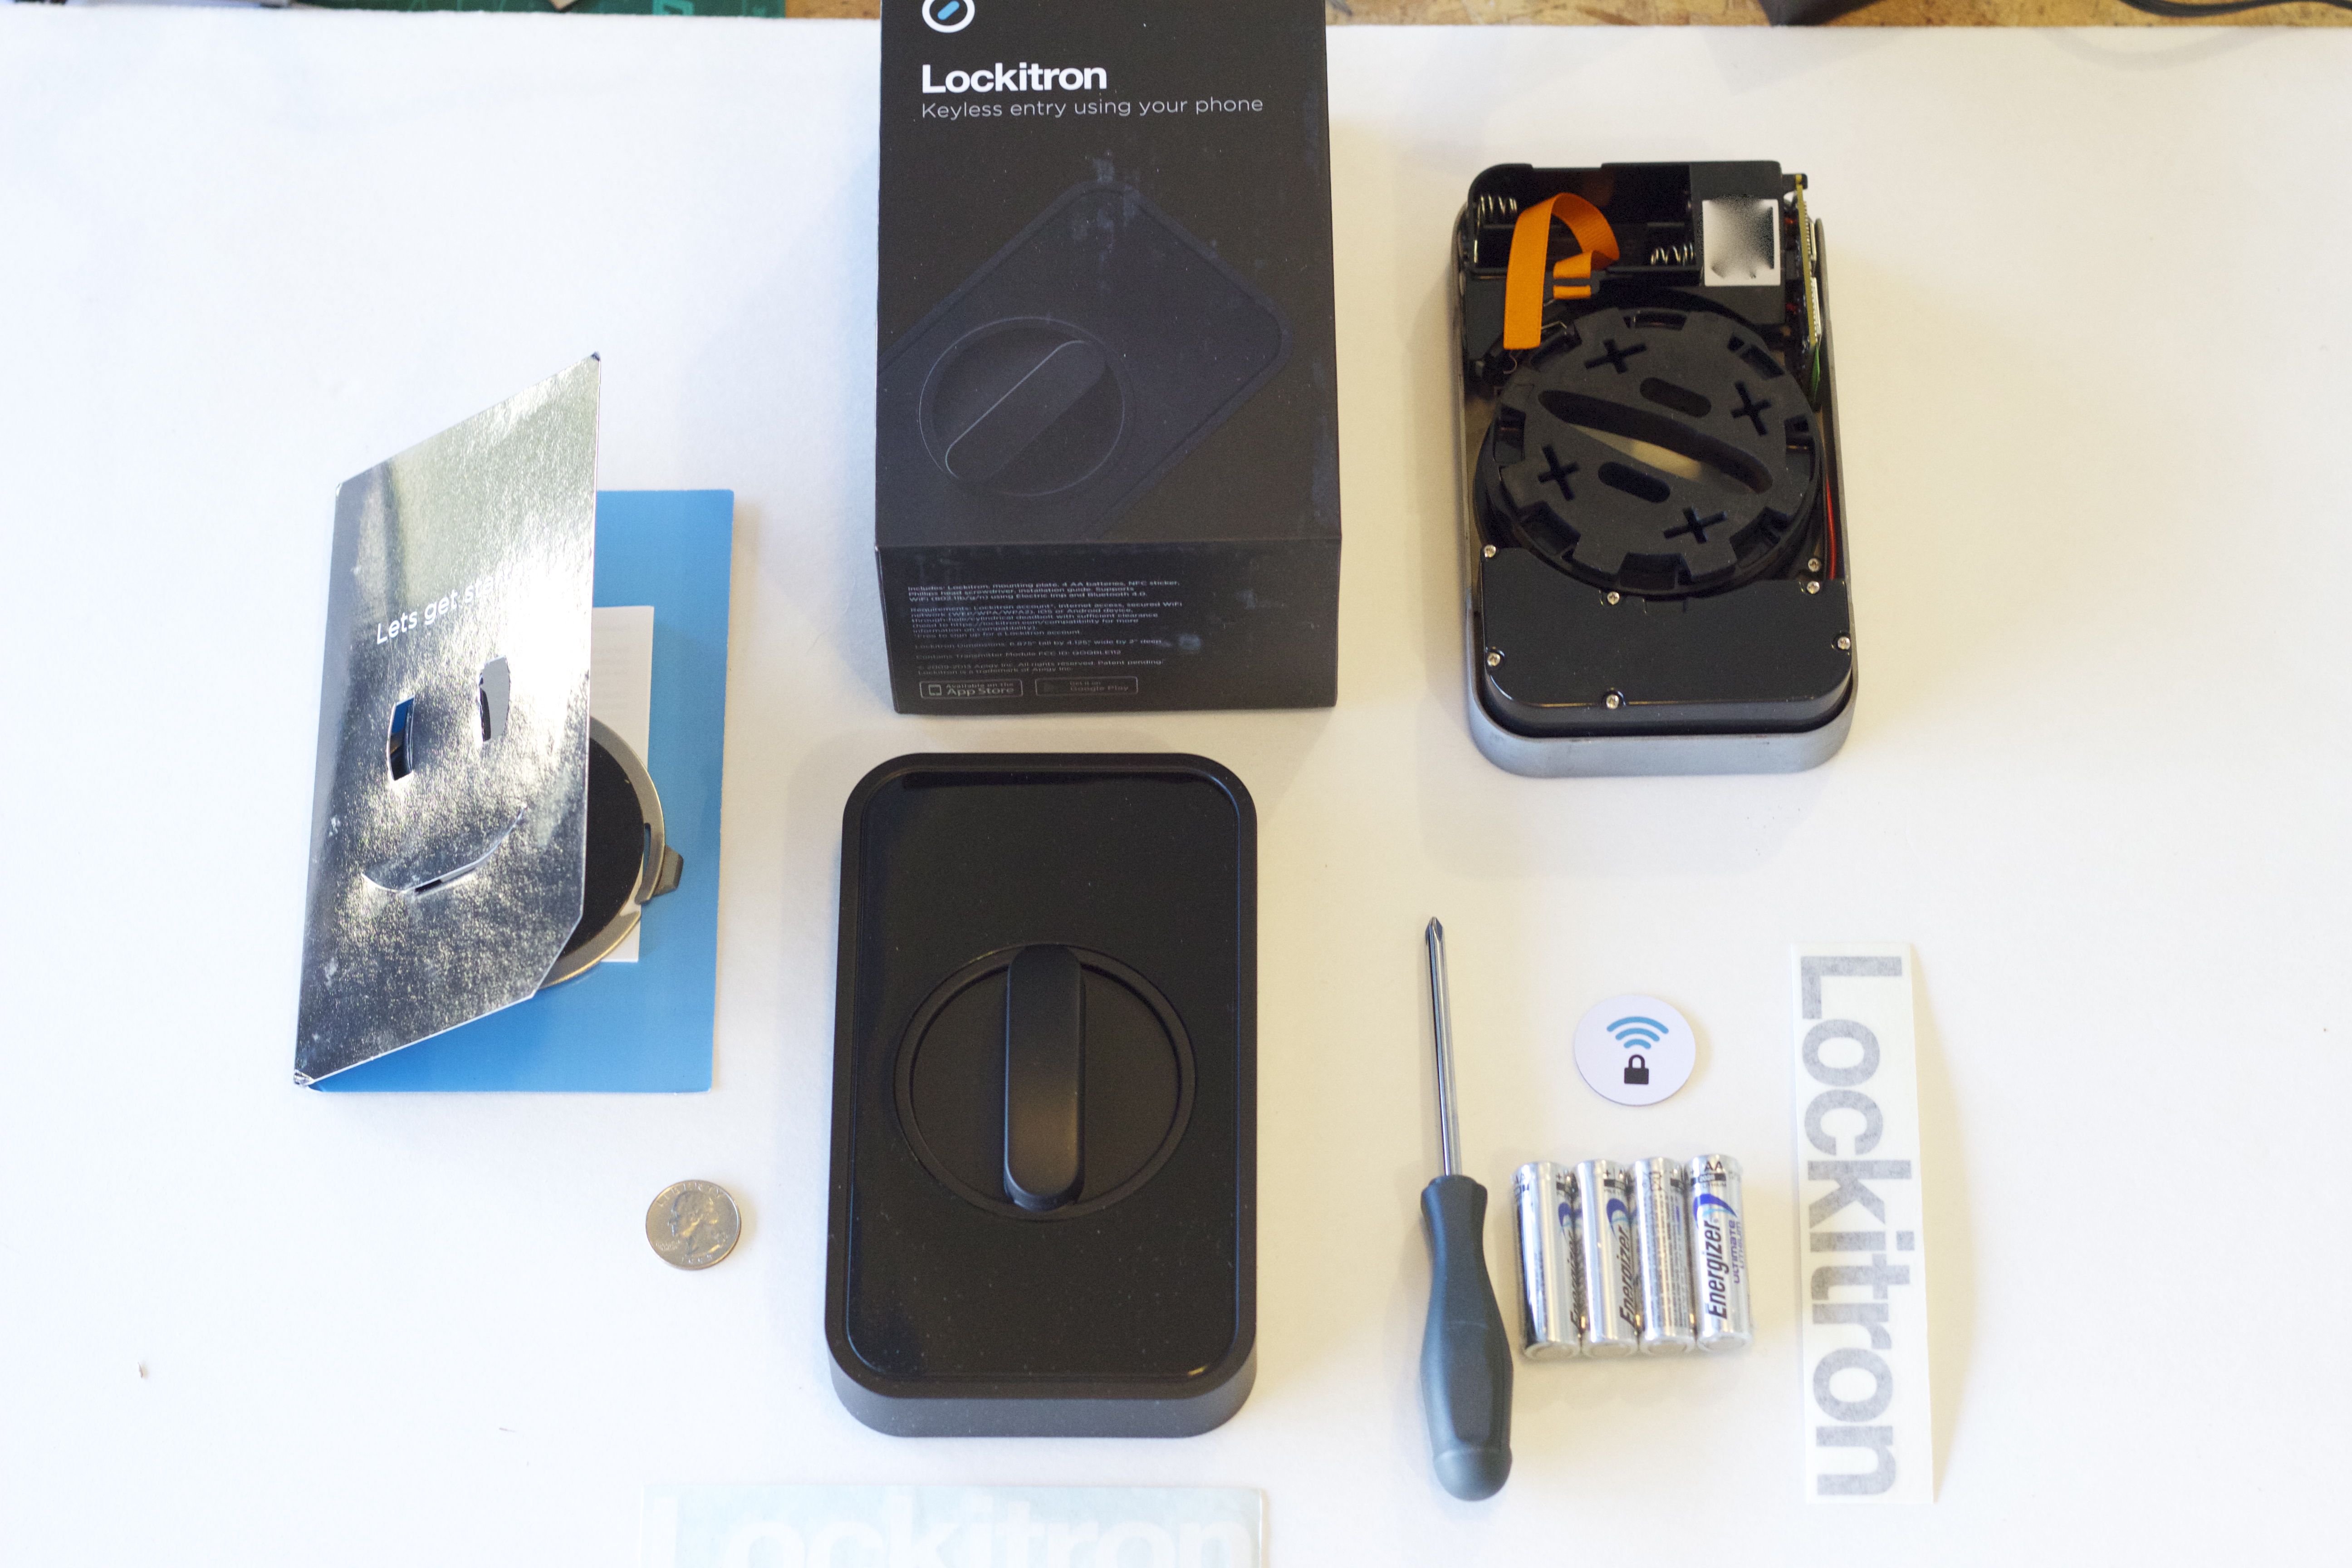
Everything that comes included with the Lockitron – even stickers!
Oh, yes – there were also a couple Lockitron stickers / window decals as well! Another fun touch for those of us who like to make our stuff go faster with stickers!
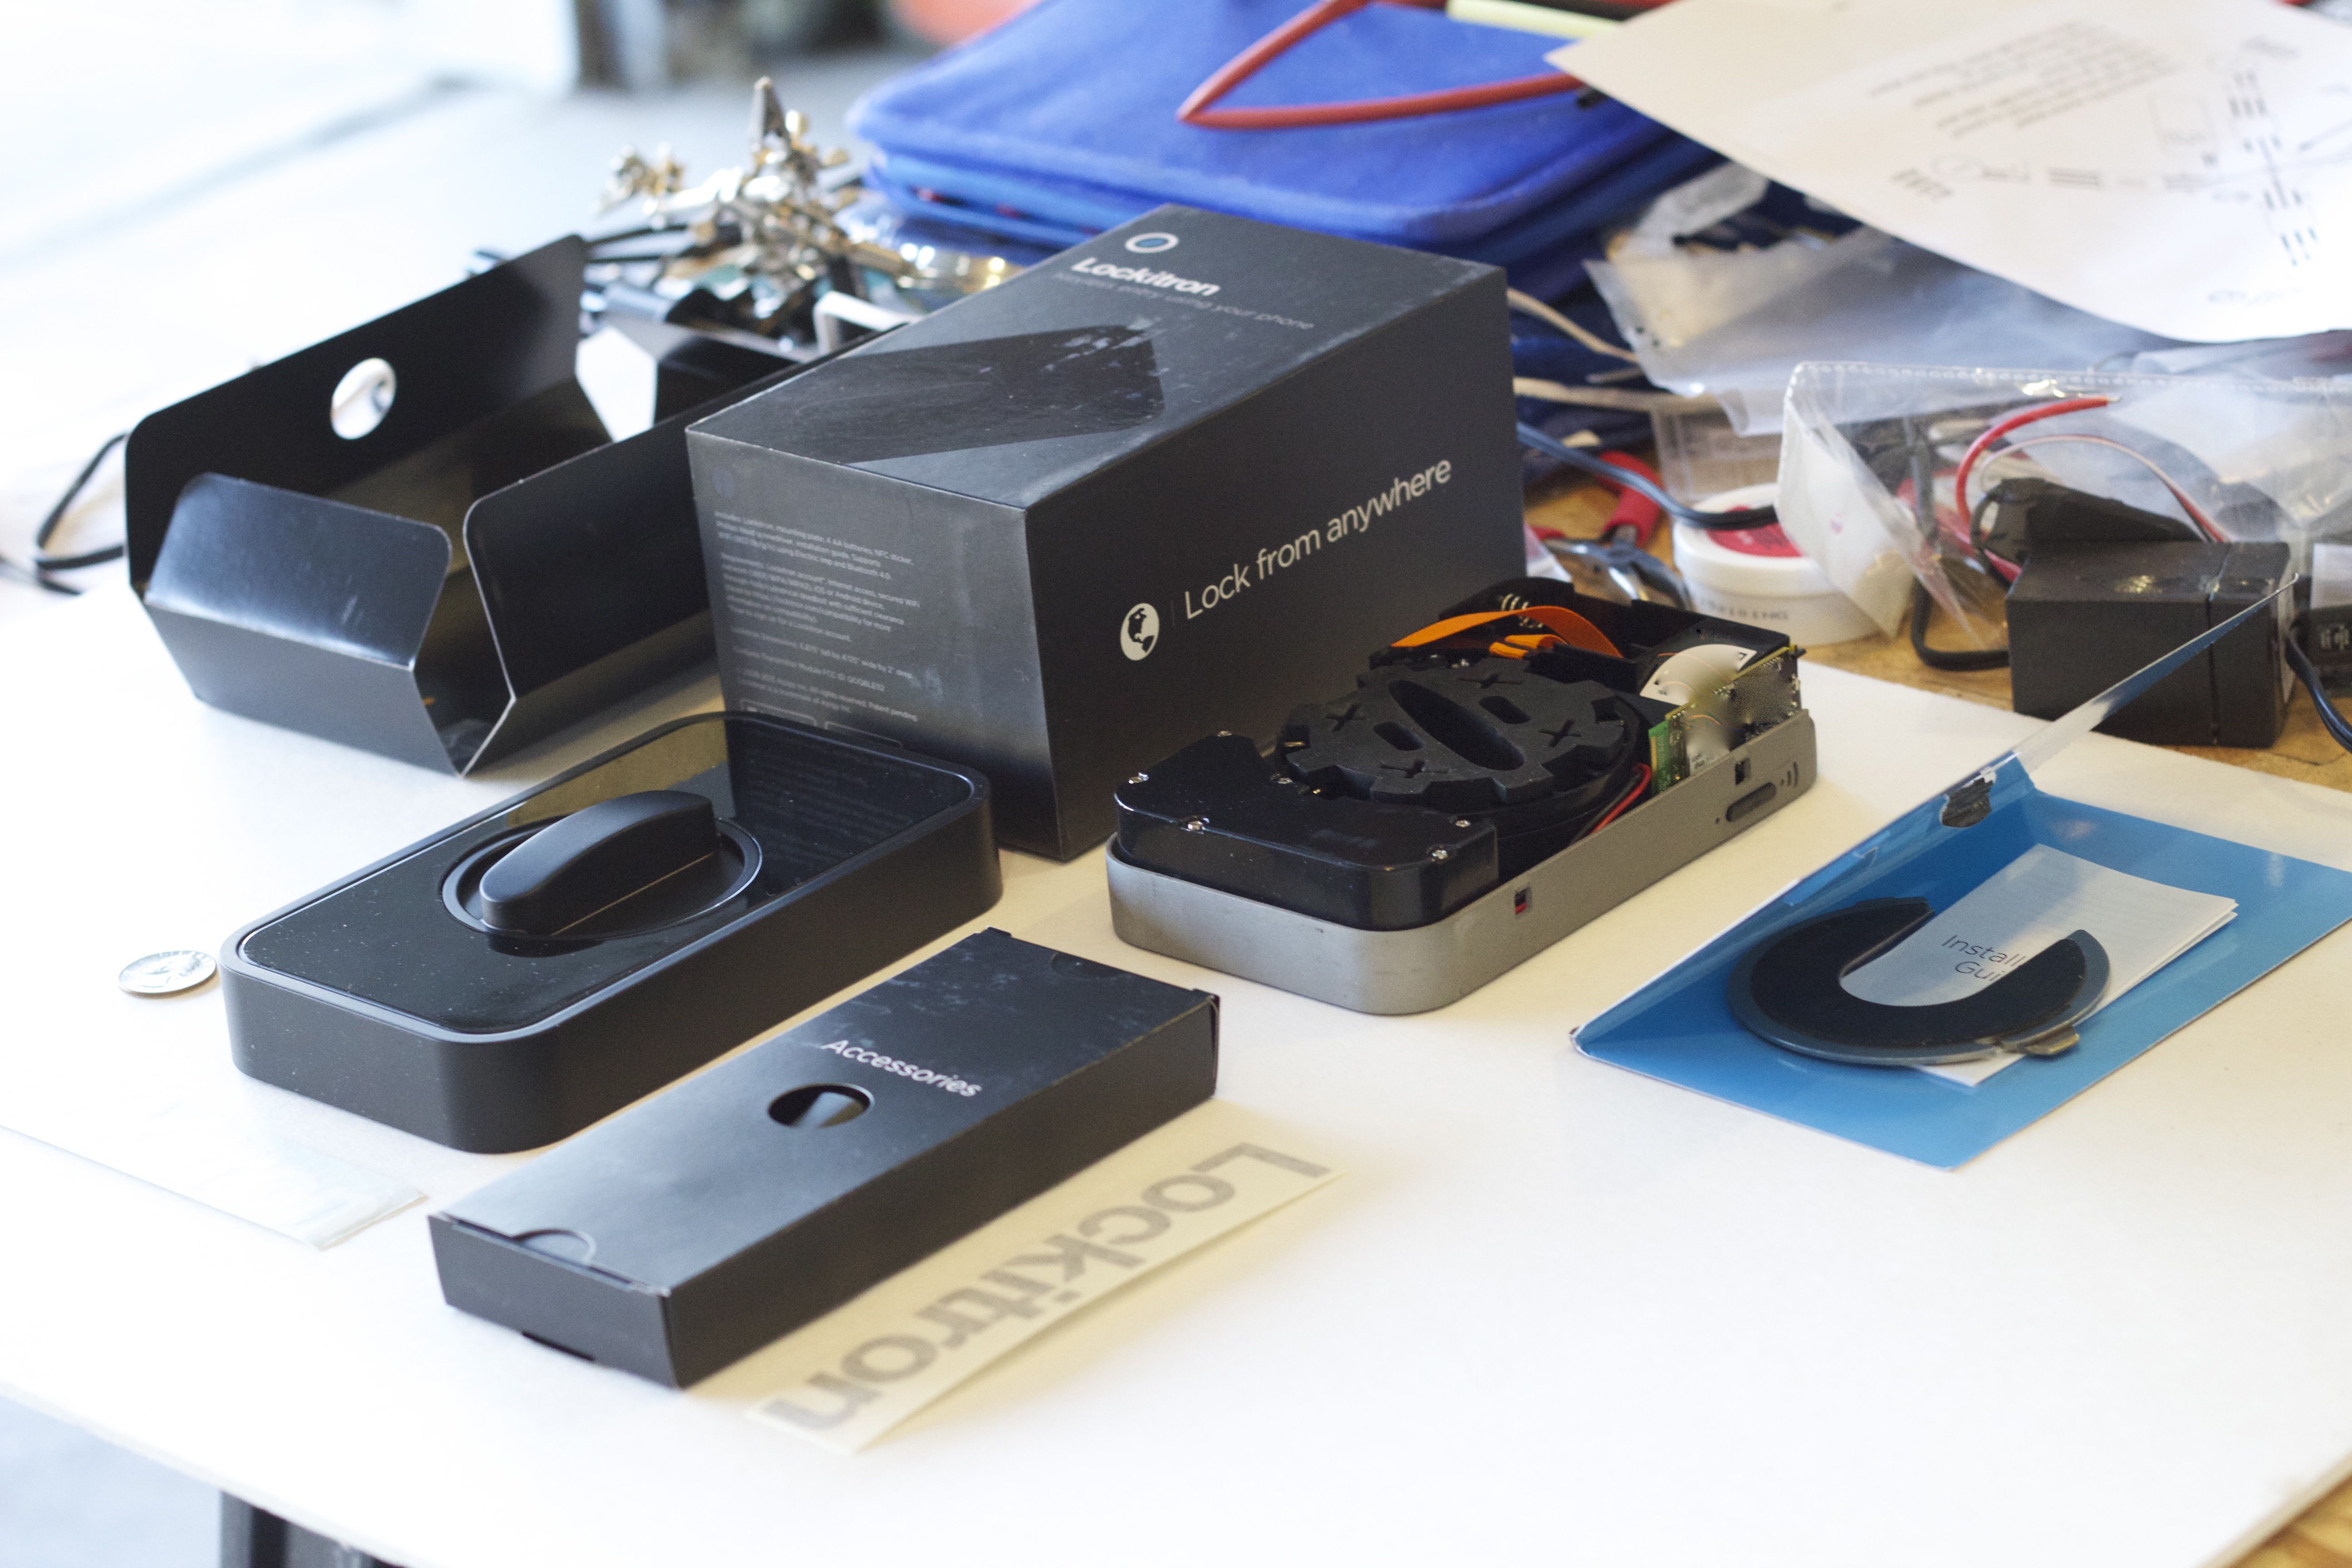
Another angle of all the stuff that comes with it!
The Installation
I didn’t take any pictures of the installation process itself, but that’s because it was quite simple and uneventful. Basically, it consisted of me downloading the Lockitron app, logging into my account, setting up a wifi connection, and then utilizing BlinkUp to transmit the data (assuming wifi data + user account data) to the Lockitron in order to authenticate it and activate it online.
Once the process was complete and the Lockitron was authenticated with the network, the remaining process was simple, and was all done via a video guide over the phone. The guide walked through the remaining process of installing the backplate, snapping the Lockitron frame onto the guide, configuring the Lcokitron to know whether it was locked or unlocked, and finally putting on the rubber stopper and plastic cover frame. It was definitely quite the easy setup for something that could’ve easily been so much more complicated!
The Final Product
Once the device was installed and working, all that was left was to try it! I quickly booted up the app on my phone and switched the device to be locked…. and waited. About 10 second later, I heard the familiar sound of gears running, and the device was locked! I then tried swiping on my phone to unlock it, only to find that the app was frozen… Drat!
I hopped onto my laptop to bring up the web interface to try it out. it showed that the device was locked, so I pushed the button to unlock it. About 30 seconds later, the gears sounded, and it unlocked. Woot! But wait…what’s this? The web interface stated that there was a system error, and to try again later. Um, not good?
I refreshed the page, and it then showed the device was unlocked, like it was supposed to be. I went ahead and clicked the lock button, and waited. 30 seconds or so again later, and it was locked, but shortly thereafter I received another system error message. A simple refresh of the page later, and all was good again.
I went back to my phone to try again, and again I got the familiar response: swiping it to lock (or unlock) the device would work, but then the entire system would lock up again for a period of time. After doing some testing, I believe it to be that the centralized Lockitron server must be waiting for some confirmation from the device stating that the command had been received and processed. During this time, it appears to make the entire system unresponsive while it’s waiting for the response back. Hopefully this will be changed in the near future. But in the meantime, at least I know to give it some time before trying to send another command.
I did give it a real-world situation tonight, where I left for a walk, and locked the door on my way out. When I got home, the door was in fact locked. But pressing unlock on my phone did nothing. I waited, and waited, but nothing ever happened, and the door remained locked. But about 60 seconds later, it finally made the familiar gear sound, and the door opened up for me. So there appears to be a few kinks in lag time and response issues that still need to be worked out. Hopefully the Lockitron team will get those issues ironed out, and have a rock-solid product in the end!
I’d have to say that I’m happy overall with the product. I do have a few pictures of the final installation that I grabbed with my cellphone quickly (I forgot to take them with my nicer camera before posting!):
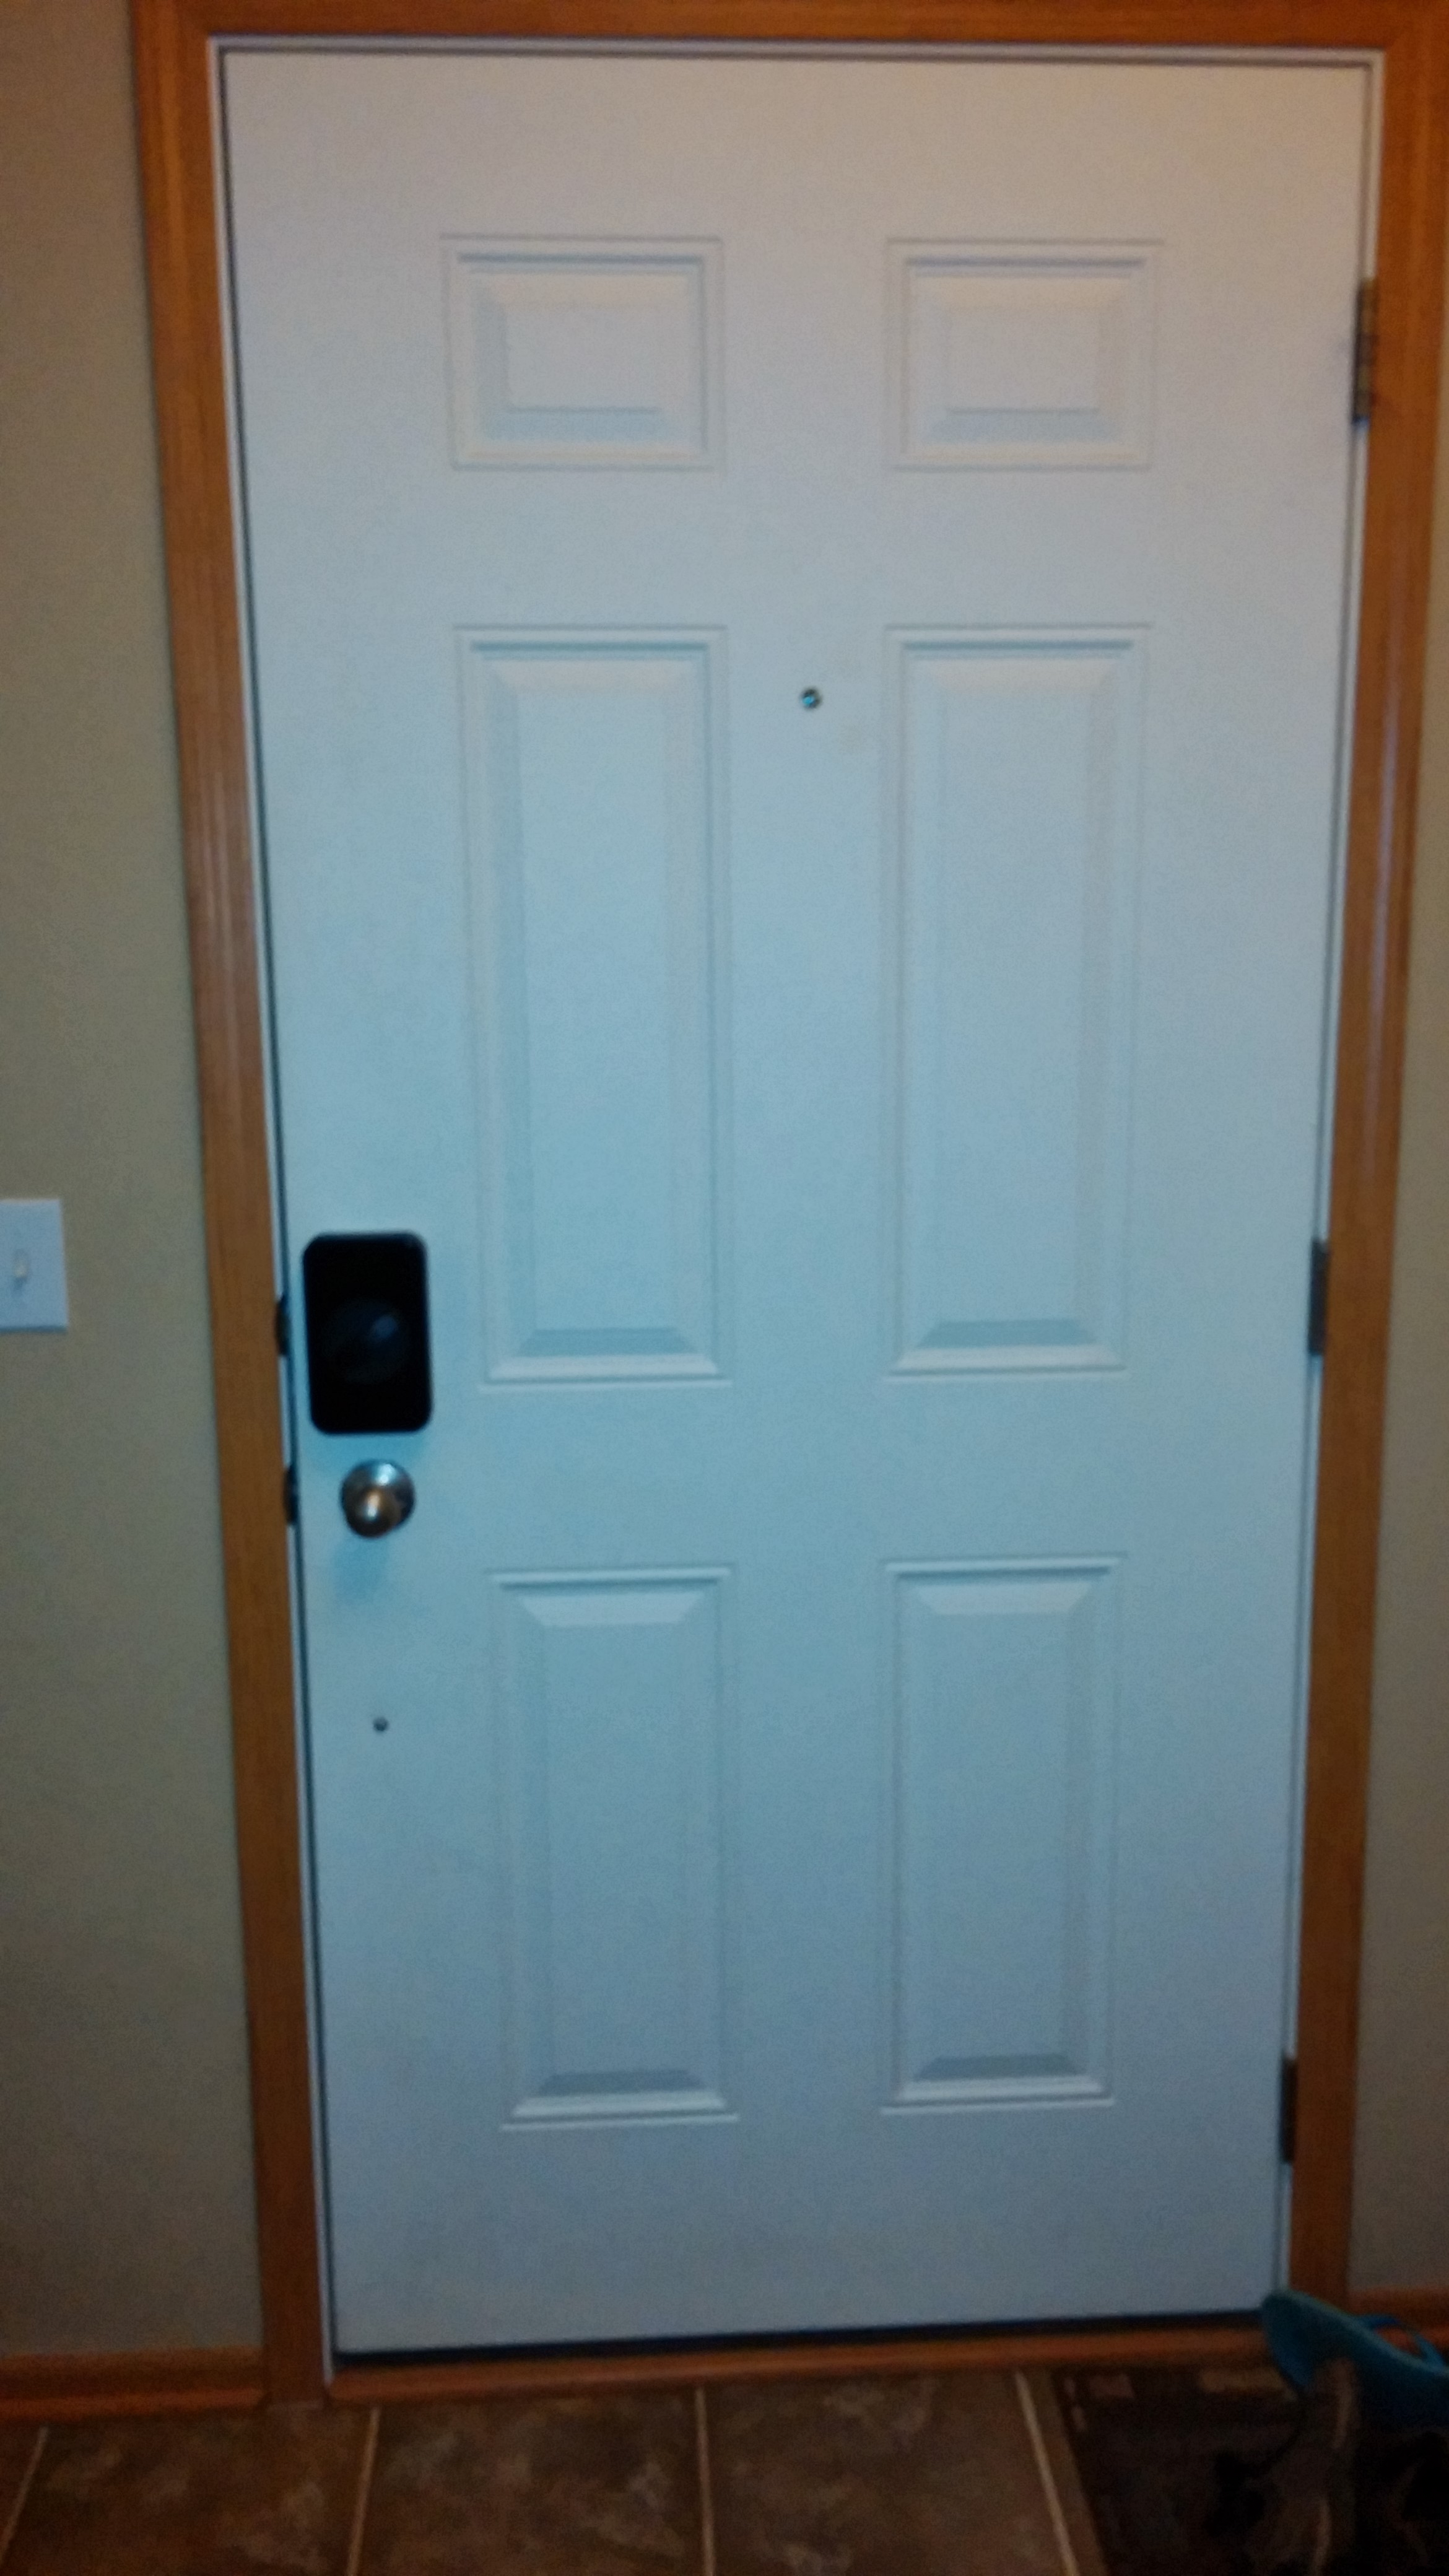
A view of our entire door with the Lockitron installed on it.
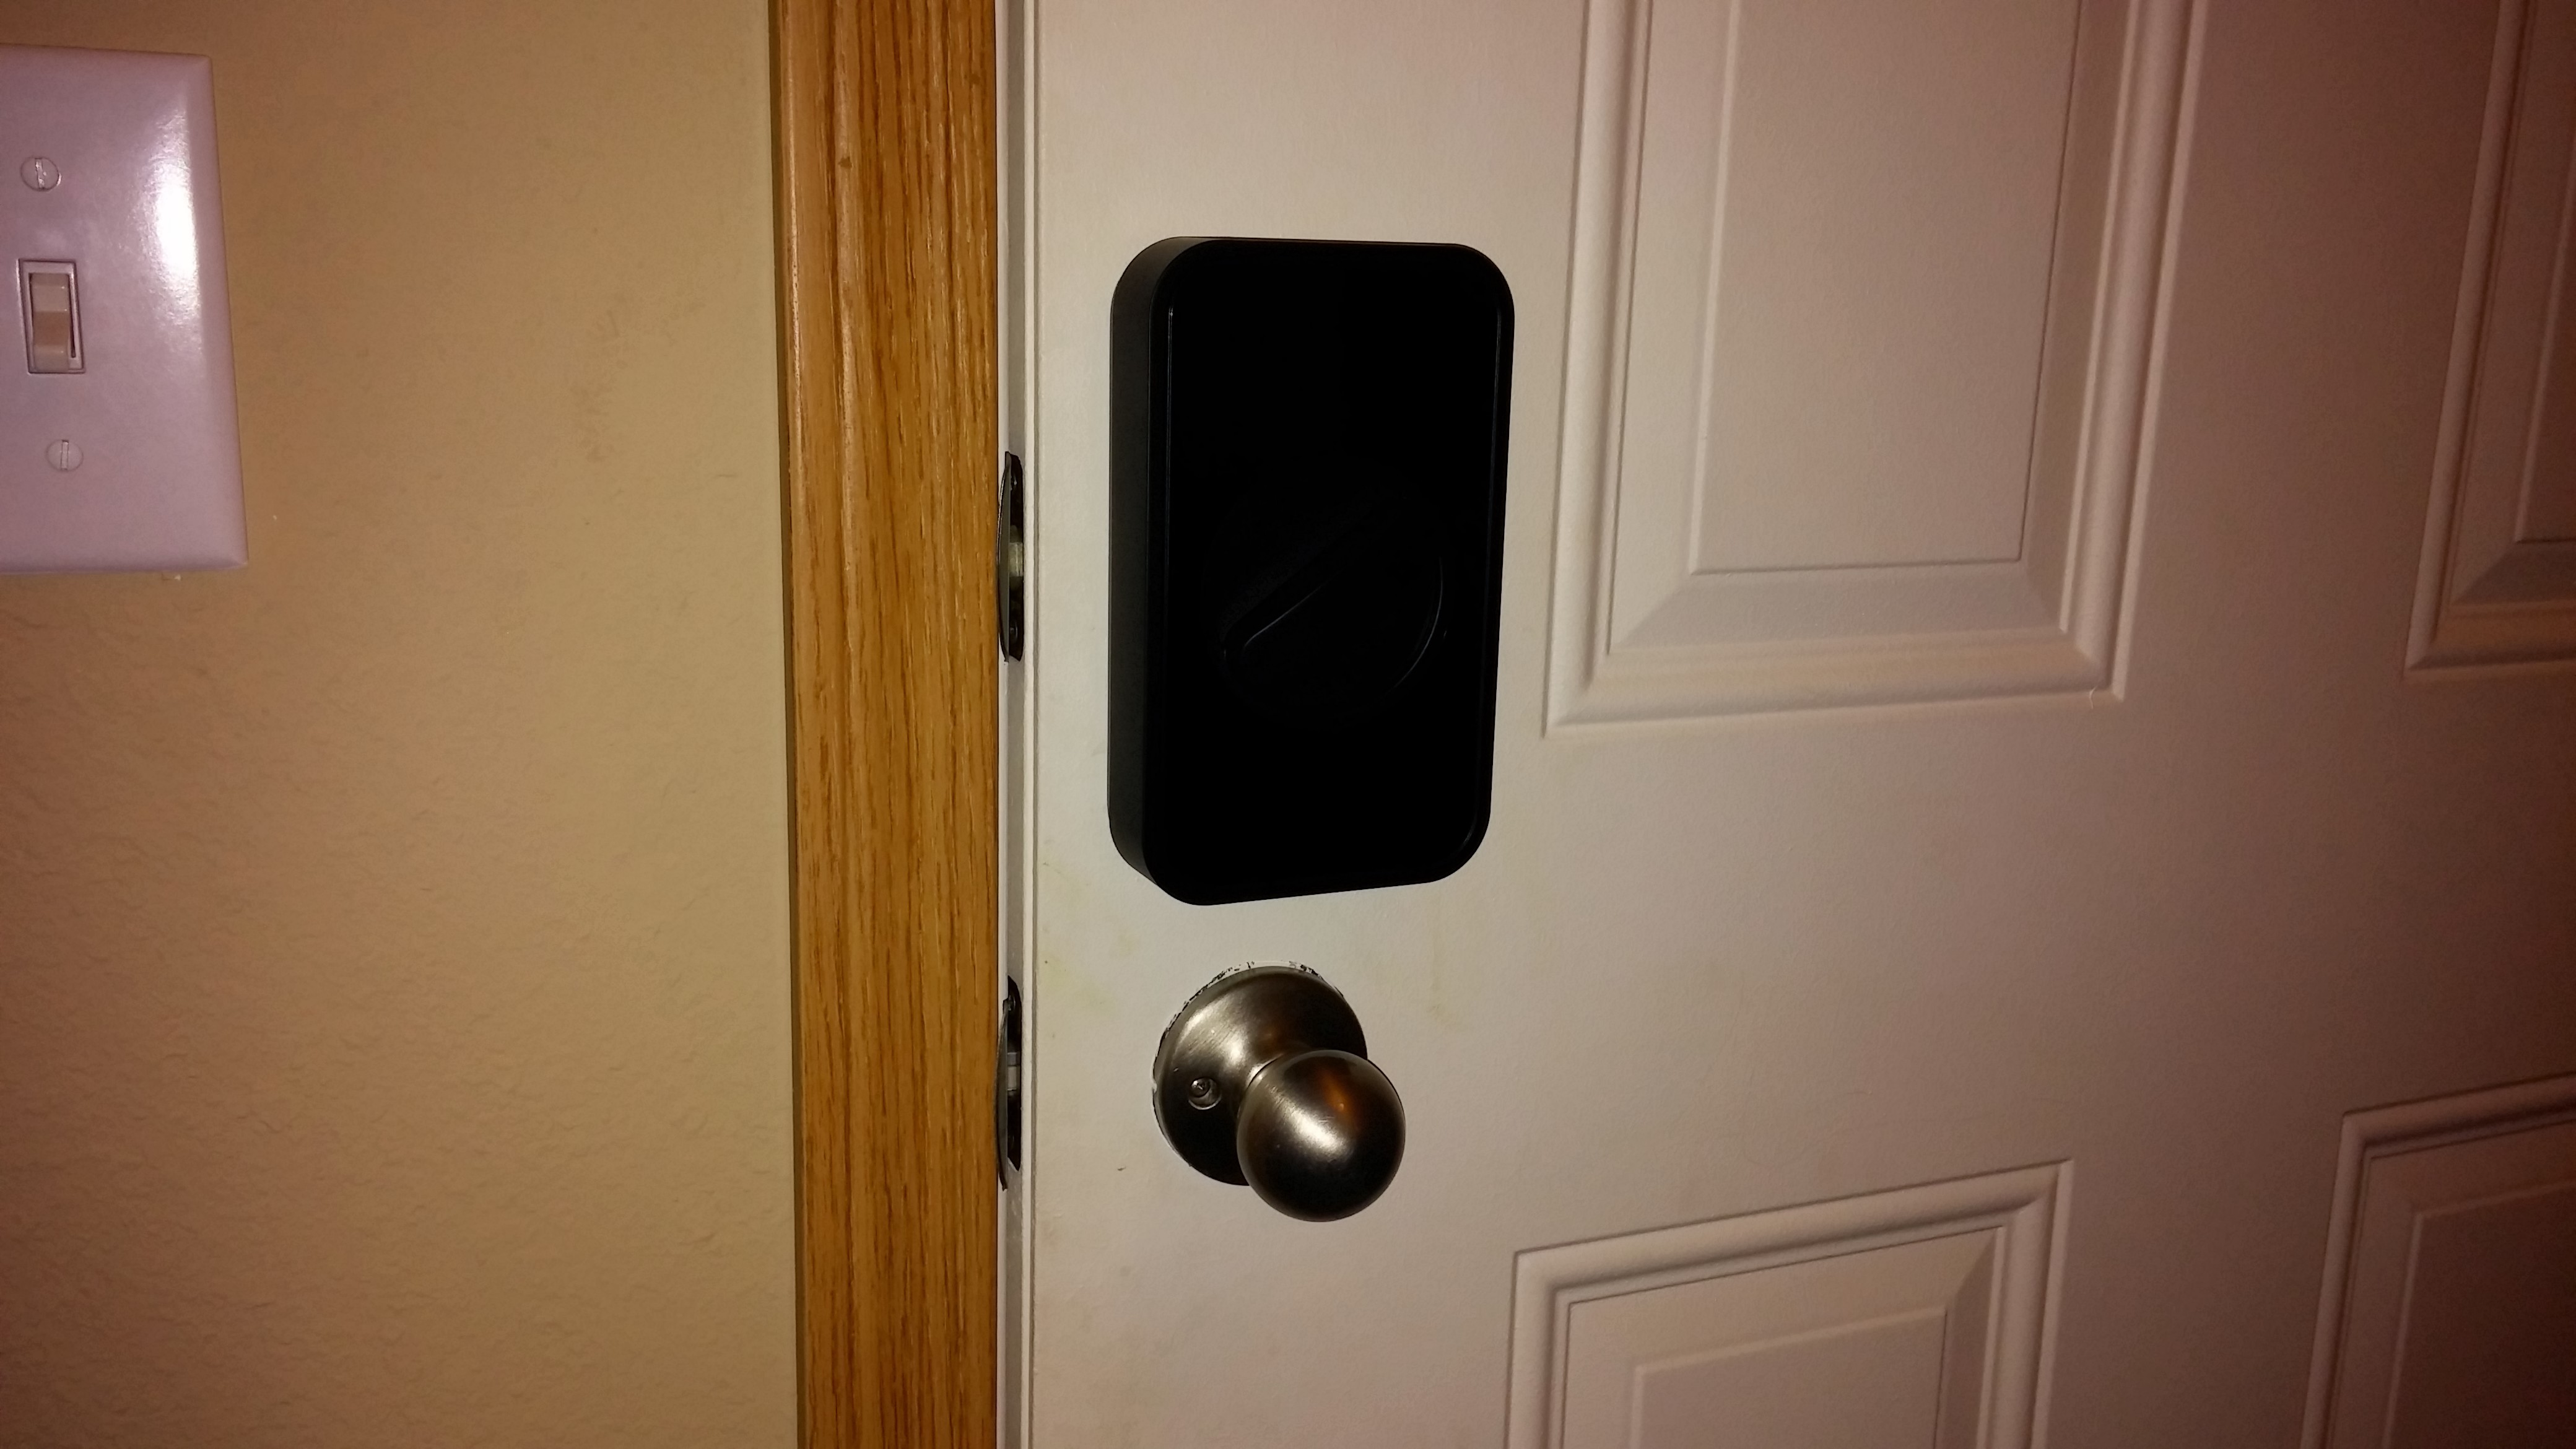
A closeup picture of the Lockitron installed on the door. It’s a bit hard to see, but it gives you an idea of the size of the device! It’s much larger than I originally thought it’d be.
As you can see, the device is quite large. It’s not obtrusively large, but it is definitely something that may catch you off guard at first. But I think after a few days or so I won’t even really notice, and we’ll get used to it. And once Lockitron sends out the color that we ordered, hopefully we’ll be able to make it match even better with the rest of our decor.
The Verdict
| Lockitron | |
|---|---|
| Price | |
| Great price for what it does. Lots of functionality, and seems to be a pretty solid product. | |
| Features | |
| Lots of features. Includes a knock sensor, which I haven't tried yet. Supports limited bluetooth, NFC, app integration, an external APK and text messages. | |
| Support | |
| Limited support so far. Good Facebook response, but limited service when trying to determine rollout times. Iffy customer service leaves some worry with regards to warranty support and other new-product bugs. | |
| Aesthetics | |
| Decent looking product. Hides well on the inside of the door, and can't tell there's anything from the outside. A bit bulky and awkward on the inside, though. | |
| Quality | |
| Hard to tell so far, since it's brand new. Seems solid. Gears are a bit loud when it runs. Not sure if that means anything with regards to lasting power. | |
| Setup | |
| Piece of cake to set up. The video installation instructions were spot on, and overall the BlinkUp feature made it a breeze. I had one small snag, where the BlinkUp took, but the Lockitron didn't want to communicate with the network. A simple second attempt to BlinkUp worked out. | |
| Overall | |
|---|---|
| Overall, seems like a decent product. I'm a bit biased, since I was a Day One backer when it was promoted to the market, so I was super excited for it to come in. But at the same time, I'm a bit flustered, since it took twice as long to come to market. I'm glad it's out, and I am looking forward to giving it a run for its money. I appreciate all the detailed engineering that went into it, and loved the simple, easy to set up ability of it. Great idea using BlinkUp to do most of the heavy lifting! | |


